 P. Sze
As we age, chest lines and wrinkles can form due to sun exposure, sleeping positions, or the natural loss of skin elasticity. Many turn to cosmetic treatments, but Traditional Chinese Medicine offers a non-invasive, natural solution with gua sha. If you’re looking to reduce chest lines, using gua sha may provide visible improvements. For those new to this technique, check out our gua sha basic guide for essential tips before diving into these chest-focused methods.
1. Use Gentle, Downward Strokes
One of the fundamental techniques in gua sha is applying gentle, downward strokes. When working on the chest area, you want to avoid harsh or aggressive motions that could irritate the skin.
- Start by applying a natural oil or moisturizer to your chest to ensure smooth gliding.
- Using the flat edge of your gua sha tool, gently stroke downward from the collarbone to just above the breasts.
- Repeat these strokes 5-10 times on each side, focusing on areas where lines are prominent.

This method promotes blood circulation and lymphatic drainage, which can help smooth out lines over time.
2. Focus on Lifting the Skin
To counteract sagging and help reduce chest wrinkles, a lifting technique can be highly effective. Instead of focusing solely on downward strokes, include upward motions.
- Begin at the base of the chest or cleavage area and use your gua sha tool to glide upward toward your collarbone.
- Keep the pressure light but firm, making sure to lift the skin slightly with each stroke.
- Perform this motion in sections, focusing on the left and right sides of the chest individually.
This lifting technique can improve the appearance of sagging skin, making chest lines less noticeable.
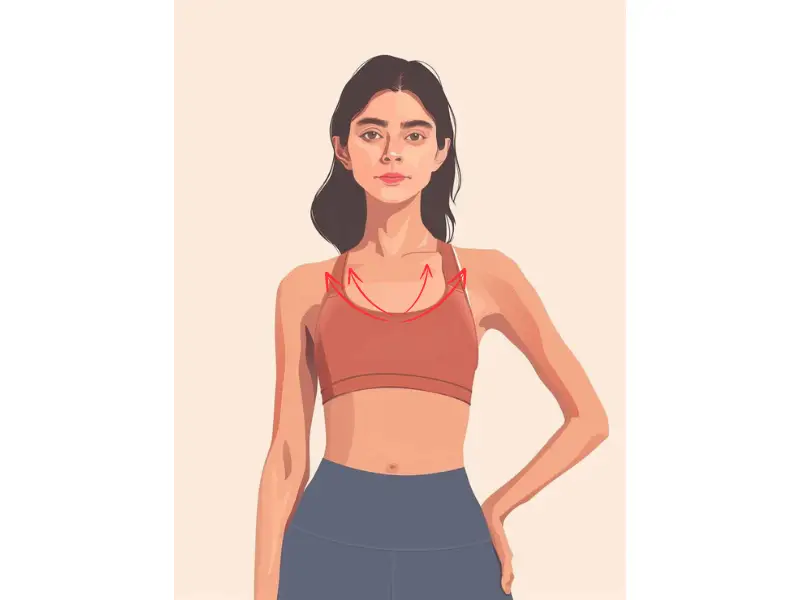
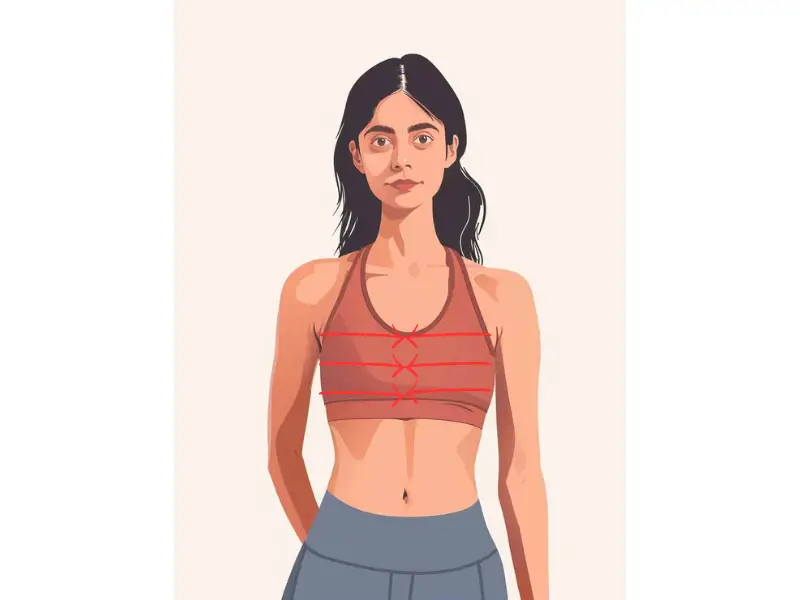
3. Target the Cleavage and Décolleté with Cross-Hatch Strokes
Cleavage wrinkles are common, especially for side-sleepers, but it’s important to address the entire décolleté area to maintain smooth, youthful skin. To target this region effectively, use cross-hatch strokes, combining horizontal and upward motions to enhance elasticity.
- Begin with horizontal strokes, moving from the outer chest (near the armpit) toward the center of the chest (cleavage area).
- Follow this with upward strokes, starting at the base of the chest and gliding upward toward the collarbone.
- The combination of these strokes helps stimulate collagen production, reducing lines and improving skin texture across the cleavage and décolleté.

Make sure to apply gentle pressure, as the skin in these areas is delicate.
4. Use Light Circular Motions for Enhanced Circulation
If the lines on your chest are deeper or more pronounced, using circular motions can increase blood flow and oxygenation, helping the skin heal and regenerate.
- After applying oil, place your gua sha tool flat against the skin.
- Use gentle circular motions across the décolleté, focusing under the collarbone and moving down toward the cleavage area.
- Repeat for 1-2 minutes on each section, making sure to cover both the upper chest (under the collarbone) and the cleavage.
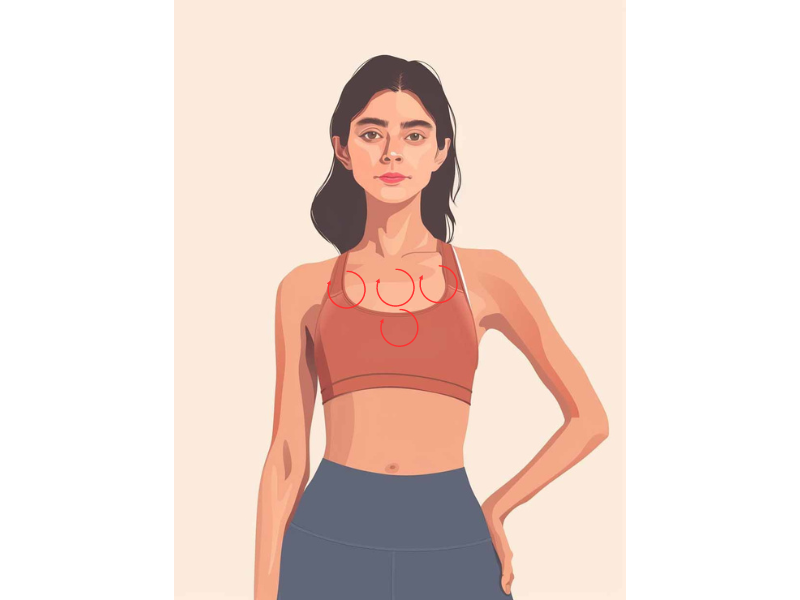
This technique promotes circulation and helps smooth out fine lines in both areas.
5. Incorporate Deep Breathing for Skin Relaxation
The appearance of chest lines can sometimes be worsened by muscle tension in the upper chest and neck area. Combining gua sha with deep breathing helps relax the skin and underlying muscles, promoting a smoother appearance.
- As you glide your gua sha tool along your chest, take slow, deep breaths, inhaling through your nose and exhaling through your mouth.
- This encourages muscle relaxation, improving your skin’s texture and elasticity over time.
By incorporating mindful breathing into your gua sha practice, you’ll boost the treatment’s overall effectiveness in reducing chest lines.
6. Try Cooling Your Gua Sha Tool to Reduce Puffiness
Puffiness in the chest area can make wrinkles look more prominent. A simple way to counter this is by chilling your gua sha tool before using it.
“Using cooled gua sha as a finishing touch helps tighten pores and refine the skin’s texture. While cooling is refreshing, it’s best to follow with a warming massage for enhanced results, especially in reducing puffiness.” – Ms. Mai Sogawa, Senior TCM Therapist
- Place your gua sha tool in the fridge for about 10-15 minutes before your session.
- Once chilled, gently glide it along your chest, focusing on any areas that feel puffy or swollen.
- The cooling effect reduces inflammation and puffiness, making fine lines and wrinkles less noticeable.
This cooling technique also feels refreshing and soothing, especially if your skin is prone to irritation.
7. Repeat Gua Sha Regularly for Best Results
Consistency is key when using gua sha for chest lines. Regular practice will yield better, longer-lasting results.
- Aim to perform your gua sha routine 3-4 times a week for best results.
- Each session should last around 5-10 minutes, ensuring you give adequate attention to the entire chest area.
- Over time, you’ll notice improved skin elasticity, fewer wrinkles, and a more youthful appearance in the chest region.
If you don’t have a gua sha tool, don’t worry.
“You can use alternatives like a spoon or a rice paddle, anything smooth and rounded. If tools aren’t available, your hands work well too—just apply oil and use your fingers or knuckles to massage the skin.” – Ms. Mai Sogawa, Senior TCM Therapist
By making gua sha a part of your regular skincare regimen, you’ll be able to naturally reduce chest lines without the need for invasive treatments.
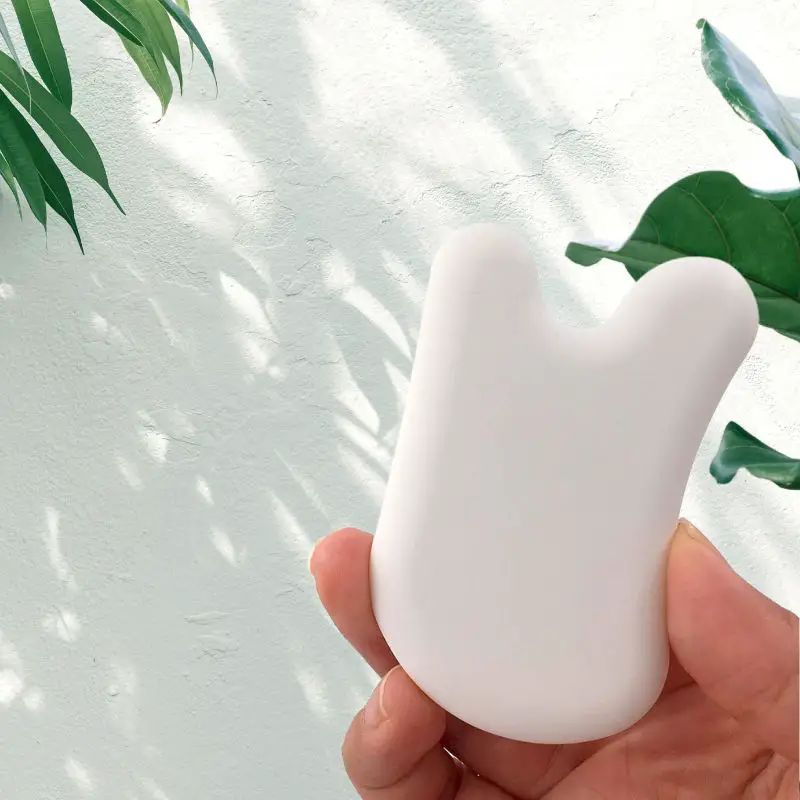
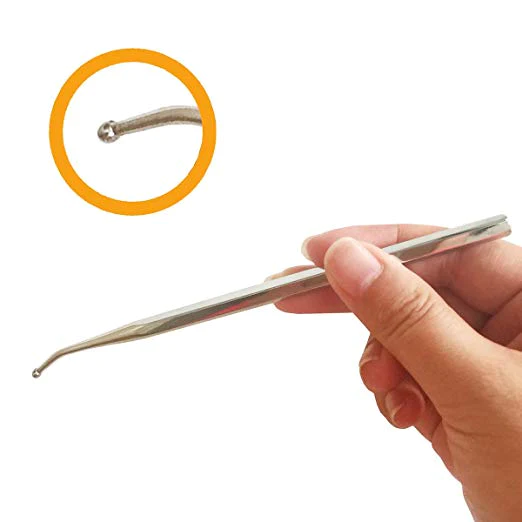
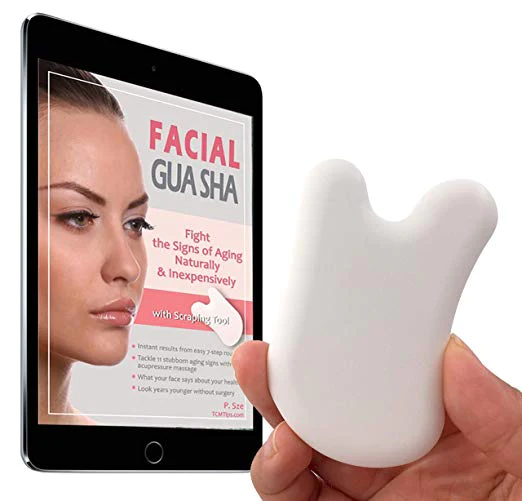
Try our Anti-Aging Gua Sha Tool designed to bring out your skin’s natural glow.
Best Gua Sha Product- Anti-Aging: The tool is designed to target 11 specific aging signs such as wrinkles and sagging skin. By following the 7-step routine, users can improve skin firmness and reduce fine lines naturally.
- Enhances Skincare Routine: It works effectively with serums and lotions, boosting absorption and efficacy of skincare products.
- Visible Skin Improvement: Users can expect a smoother complexion, reduced puffiness, and a more youthful appearance.