 P. Sze
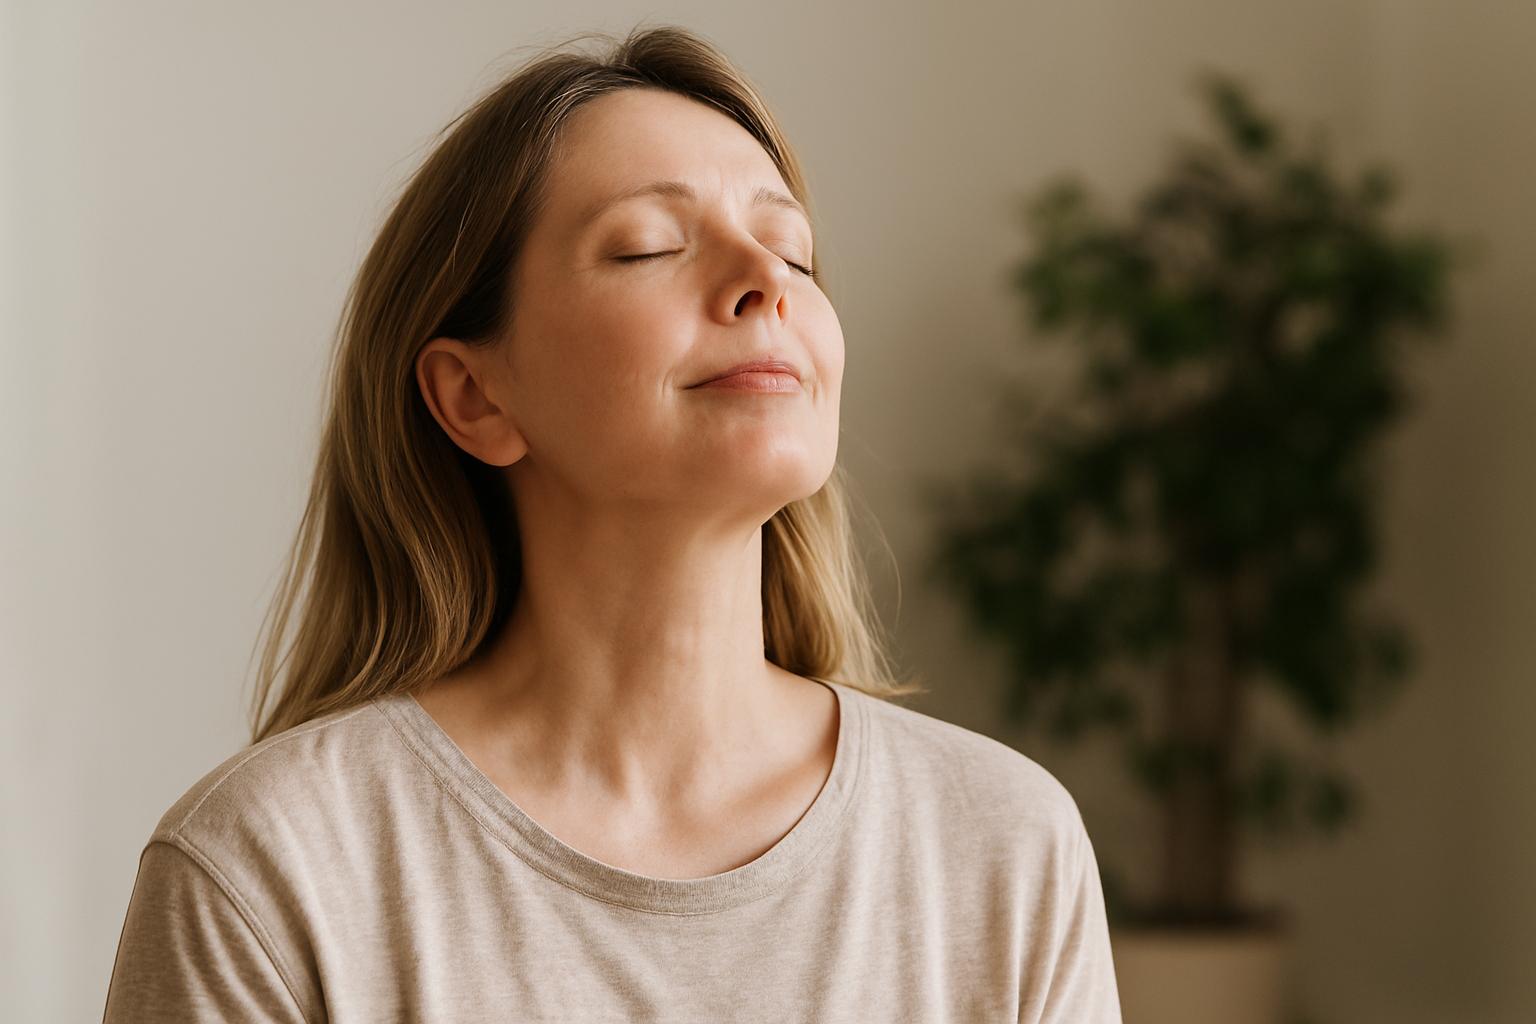
Gua Sha is not only an ancient healing technique but also a powerful tool for enhancing your facial structure naturally. By using specific techniques, you can lift, sculpt, and tone your face at home, offering a natural alternative to invasive procedures. If you’re familiar with gua sha and want to maximize its face sculpting benefits, these 7 tips will transform your routine. Before you dive into these tricks, be sure to check out our basic guide to gua sha for an introduction to this technique.
1. Always Start with Proper Lubrication
One of the most important aspects of gua sha face sculpting is using the right oil or serum to lubricate your skin. Dry skin can lead to irritation or even damage, so you want to ensure your skin is well-prepped.
- Use a facial oil suited to your skin type (jojoba oil is a great all-rounder).
- Ensure the oil allows the gua sha tool to glide smoothly without pulling or tugging.
This step not only protects your skin but also helps to enhance the sculpting effect, as smooth movement is essential for achieving optimal results. Lubrication allows for proper lymphatic drainage, which reduces puffiness and gives your face a smoother, more contoured appearance.
According to senior TCM therapist Ms. Mai Sogawa, “Combining Gua Sha with acupuncture or ear massage can improve blood circulation in the face, leading to a more lifted appearance.”
2. Use Light to Medium Pressure
Many people assume that pressing harder will give better results, but with gua sha, less is more. When you apply light to medium pressure, the tool works with the natural contours of your face to gently drain lymphatic fluids and reduce puffiness.
- Focus on long, sweeping motions instead of pressing down too firmly.
- Allow the tool’s weight to do most of the work for you, guiding it gently along your skin.
Light pressure allows the tool to relax facial muscles and release tension without stressing the skin. This improves blood circulation, giving your face a natural lift and youthful glow, while heavier pressure can lead to inflammation or bruising.
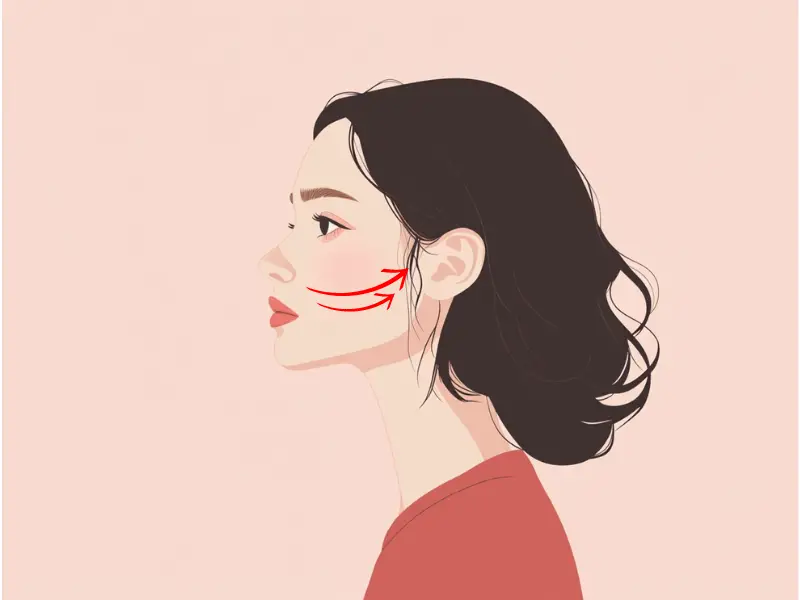
3. Focus on the Jawline for a Defined Look
To naturally sculpt your face, the jawline is a key area to target. Gua sha helps reduce puffiness and tension in the jaw area, offering a more defined look over time.
- Hold the gua sha tool at a 15-degree angle.
- Starting at the center of your chin, sweep the tool along the jawline toward your ear.
- Repeat each motion 5-10 times on both sides.
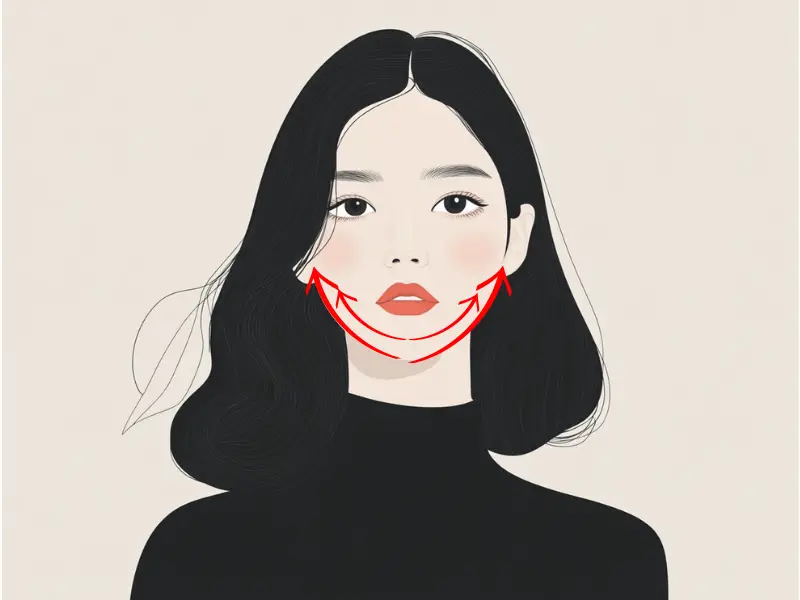
This technique improves lymphatic drainage in the lower face, reducing bloating that can make the jawline appear less defined. Over time, the repetitive lifting motion will help tone the jawline, giving it a sharper, more contoured look.
4. Sculpt Your Cheekbones with Upward Strokes
One of the most sought-after effects of gua sha is sculpting the cheekbones. By using upward strokes, you can enhance your natural bone structure.
- Place the gua sha tool on the side of your nose.
- Sweep it upward, following the contour of your cheekbone, all the way to your hairline.
- Repeat this process 5-10 times on each side, always moving in an upward direction.
Sculpting the cheekbones lifts the mid-face, reducing the appearance of sagging or puffiness that can weigh down the face. By enhancing your cheekbones, you achieve a more youthful and contoured look, giving the face structure and dimension.
5. De-puff Under Your Eyes Gently
The area under the eyes is delicate, and puffiness in this region can make your face look tired or swollen. Gua sha can help drain excess fluid and reduce under-eye bags.
- Use the curved edge of your gua sha tool and gently glide it from the inner corner of your eye outward toward the temple.
- Be sure to use a very light touch in this area.
- Repeat the motion 3-5 times on each side, ensuring you never press too hard.
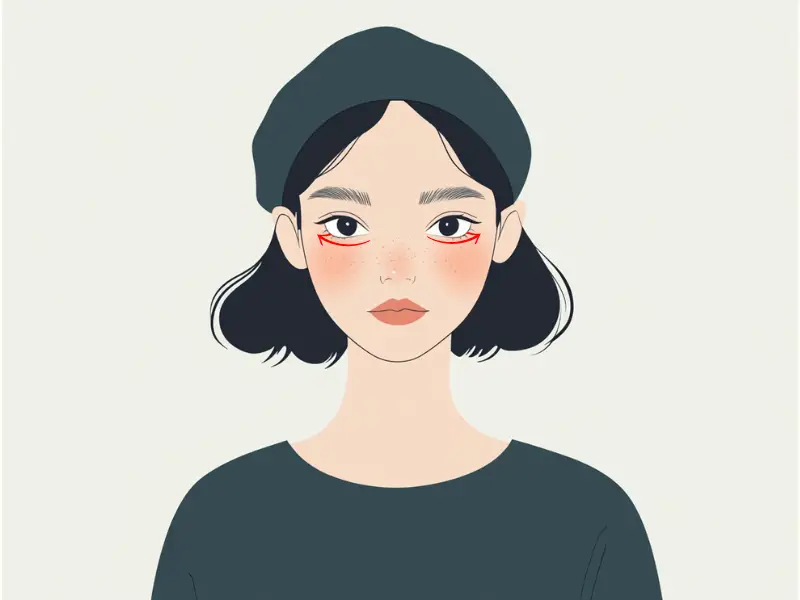
The under-eye area is prone to fluid retention, which can cause puffiness and dark circles. By de-puffing the area with gua sha, you can create a more refreshed and awake appearance, making your face look brighter and well-rested.
6. Lift Your Brow Area for a Youthful Look
Lifting the brow area is another trick to enhance your face sculpting routine with gua sha. This technique can help reduce tension around the eyes and forehead while giving a natural lift to the brows.
- Starting from the middle of your forehead, sweep the gua sha tool upward toward your hairline.
- For the brow area, gently glide the tool along the brow bone and out toward your temples.
- Repeat this process 5-8 times.
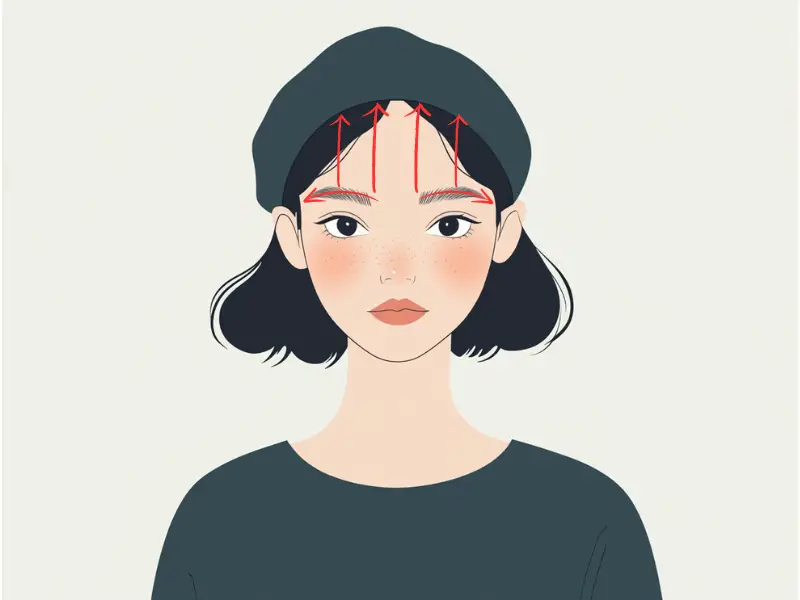
By focusing on the brow area, you can counteract sagging skin around the eyes, which often leads to droopy-looking eyelids or tired expressions. Lifting the brow opens up the eye area, giving your face a youthful and revitalized appearance.
7. Don’t Forget Your Neck for Complete Face Sculpting
Your neck plays a crucial role in supporting the results of your gua sha facial sculpting. A toned neck enhances the appearance of your jawline and overall facial contour.
- Start at the base of your neck and move the gua sha tool upward toward your chin in smooth, sweeping motions.
- Be sure to cover the sides and back of your neck as well to promote full lymphatic drainage.
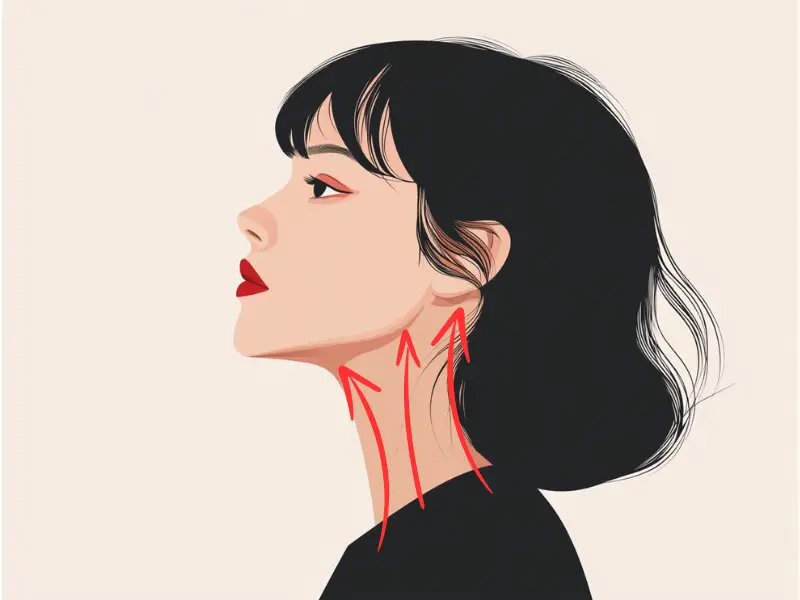
Incorporating your neck into your routine ensures that your facial sculpting efforts are balanced. Tightening and lifting the neck area prevents sagging, which can make the jawline appear less defined, thus contributing to a more complete, youthful look.
Ms. Mai Sogawa explains, “Using cooled Gua Sha as a finishing touch on the face helps tighten pores and refine the skin’s texture. However, since warmth is generally better for reducing puffiness, it’s recommended to follow the cold Gua Sha massage with a warming massage using the Gua Sha.”
How Often Should You Perform Gua Sha?
For best results, perform your gua sha face-sculpting routine 3 to 4 times a week, though many people use it daily as part of their skincare regimen. Each session should last 5 to 10 minutes, focusing on key areas like the jawline, cheekbones, forehead, and neck.
When Will You See Results?
Results vary from person to person, but most people notice immediate improvements in reduced puffiness, a more lifted appearance, and glowing skin after a single session. However, for more noticeable sculpting and toning, it typically takes 4 to 6 weeks of consistent use. Over time, you’ll likely see a more defined jawline, lifted cheeks, and reduced fine lines as gua sha encourages better circulation, lymphatic drainage, and muscle relaxation.
By following these 7 gua sha tricks, you’ll naturally sculpt and tone your face over time. Whether you’re looking to sharpen your jawline, lift your cheeks, or brighten your under-eye area, gua sha offers a holistic and non-invasive approach to achieving the results you desire. For those new to gua sha, refer to our basic gua sha guide to get started on your face-sculpting journey today.
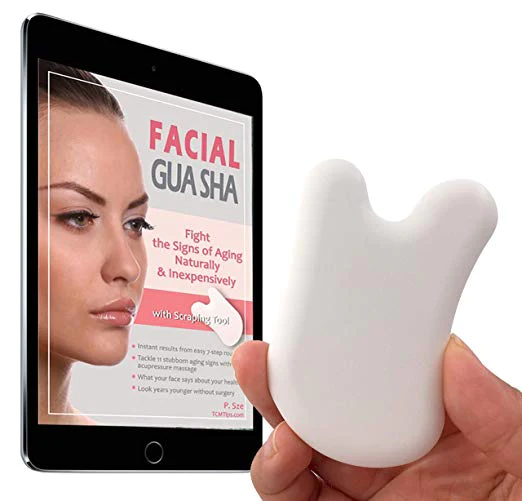
Try our Anti-Aging Gua Sha Tool designed to bring out your skin’s natural glow.
Best Gua Sha Product- Anti-Aging: The tool is designed to target 11 specific aging signs such as wrinkles and sagging skin. By following the 7-step routine, users can improve skin firmness and reduce fine lines naturally.
- Enhances Skincare Routine: It works effectively with serums and lotions, boosting absorption and efficacy of skincare products.
- Visible Skin Improvement: Users can expect a smoother complexion, reduced puffiness, and a more youthful appearance.