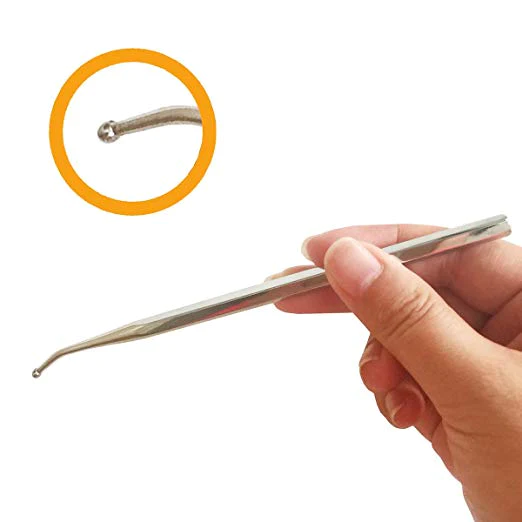
 P. Sze
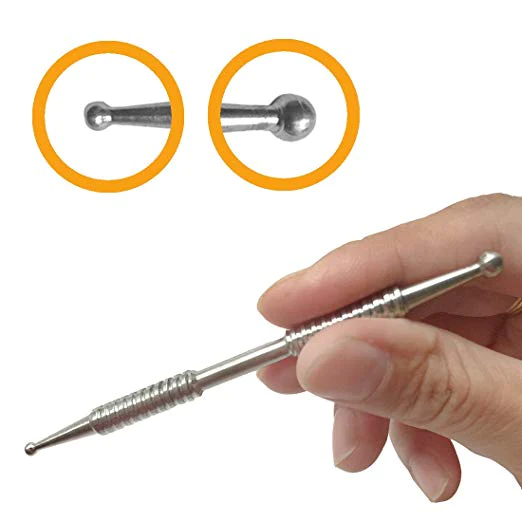
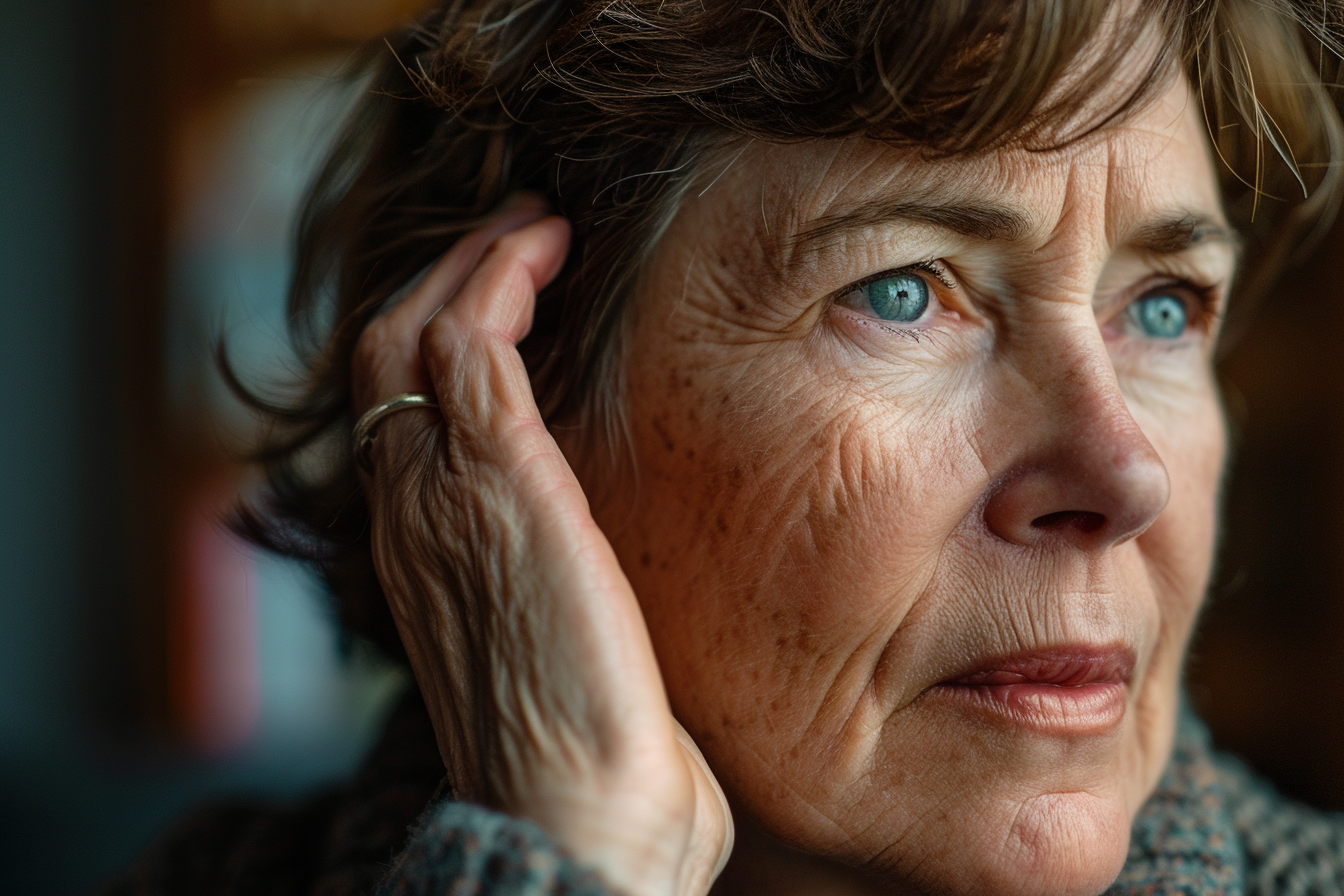
Gua sha is widely known for its benefits in reducing tension and promoting circulation, but one lesser-known application is its effectiveness in improving ear drainage. Fluid buildup in the ears can result from sinus infections, allergies, or eustachian tube dysfunction and can lead to discomfort, pressure, and hearing issues. Proper drainage is essential to alleviate these symptoms and restore balance. By using targeted gua sha techniques, you can encourage natural fluid movement and relieve congestion.
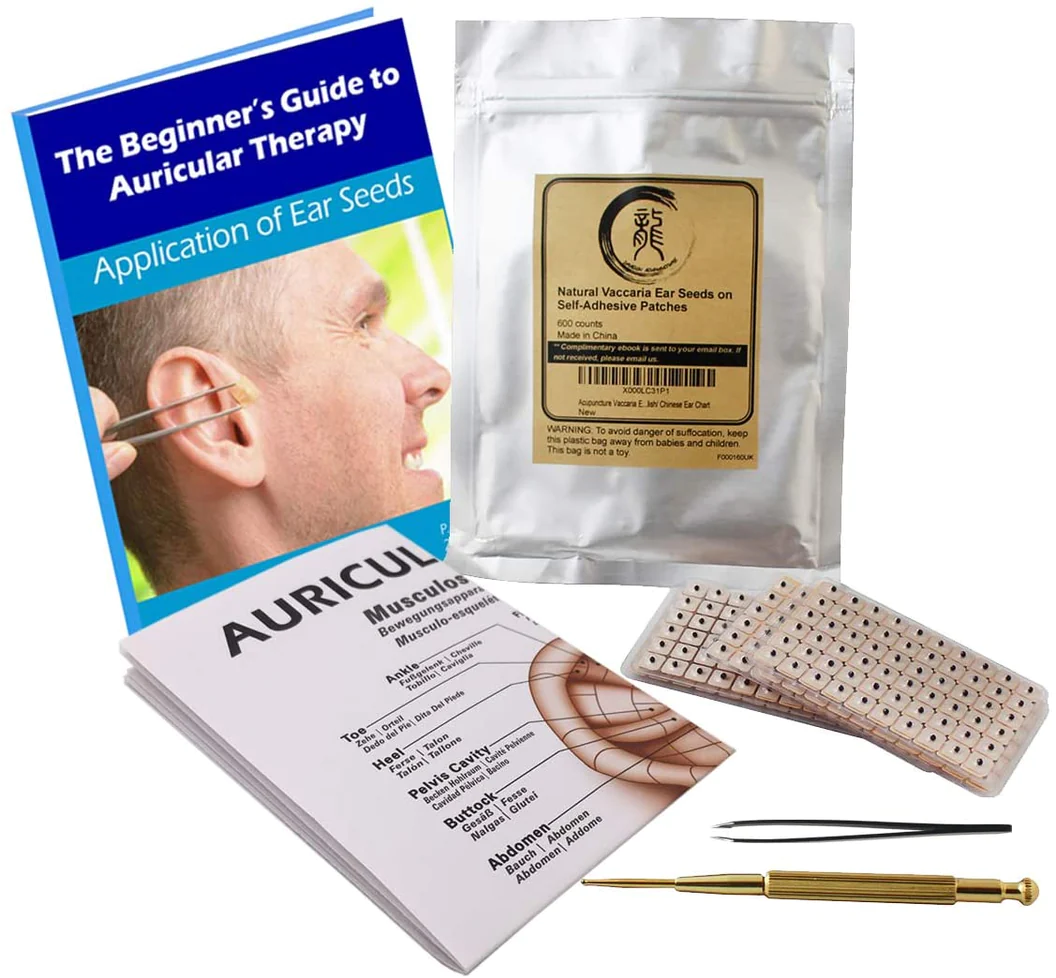
For an overview of how to use gua sha tools effectively, check out our gua sha basic guide.
“For beginners or those seeking a gentler approach, the jade roller is a great option, especially when you can’t apply oil or want to keep your routine simple. However, if you’re looking for more defined results or need to relax deeper muscles, gua sha is the better choice for a noticeable effect.”
— Ms. Mai Sogawa, Senior TCM Therapist
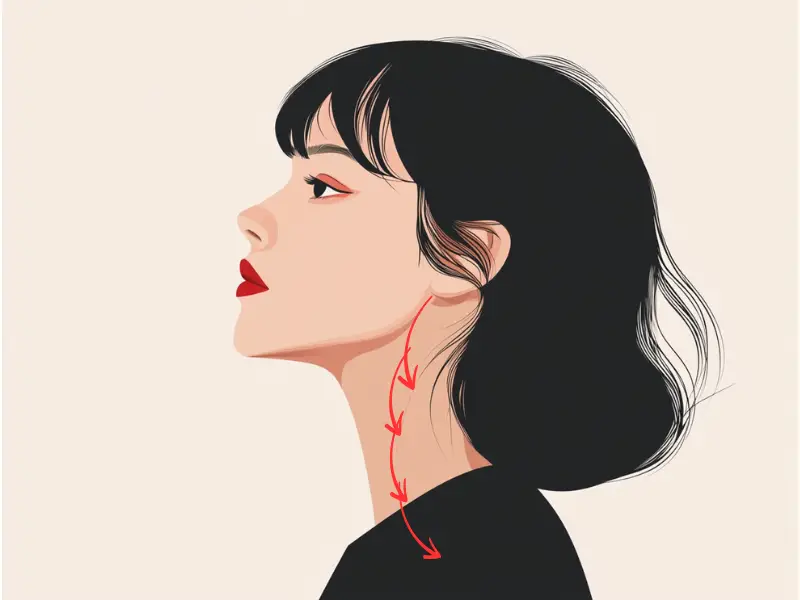
1. Focus on the Lymph Nodes Behind the Ears (Shorter Stroke)
This technique targets the lymph nodes directly behind the ears. The stroke is short and focused, helping to stimulate lymphatic drainage in this specific area.
How to do it:
- Start point: Right behind the earlobe, where the jaw meets the head.
- End point: The base of the neck, just above the collarbone.
- Stroke: Use the curved edge of your gua sha tool. Apply light to moderate pressure and move the tool in short, downward strokes behind the ear. Repeat 5-10 times on each side. This technique focuses on the smaller lymph nodes behind the ear to promote localized drainage.

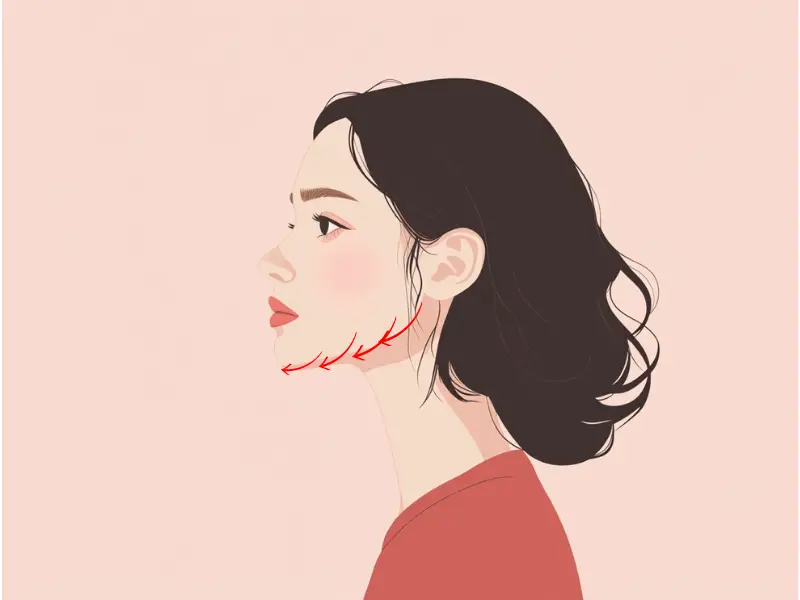
2. Scrape Along the Jawline to Relieve Tension (Shorter Stroke)
Tension in the jaw can affect ear drainage, contributing to pressure buildup. Scraping along the jawline helps release tight muscles and encourages fluid movement.
How to do it:
- Start point: Directly below the earlobe.
- End point: The tip of the chin.
- Stroke: Glide the tool along the jawline, following its natural curve. Use medium pressure and repeat 5-10 times on each side. This stroke targets muscle tension along the jaw, which can help relieve ear pressure.
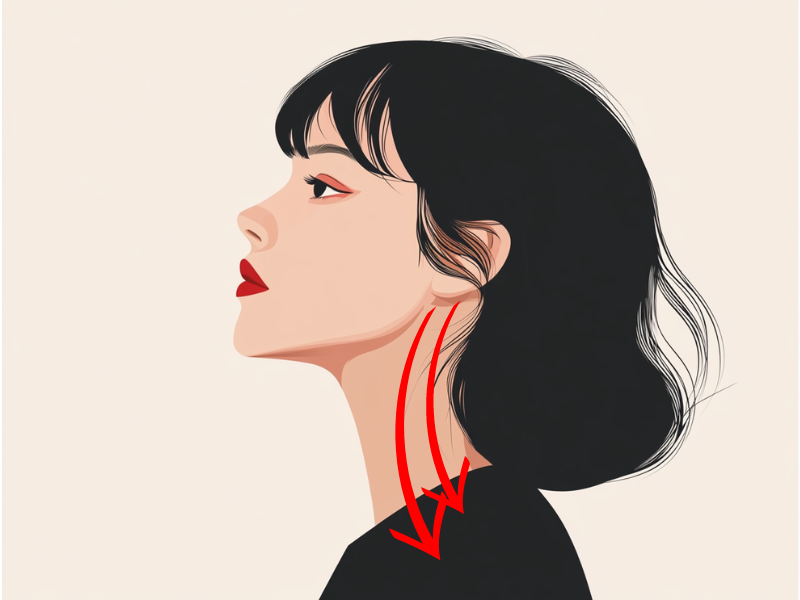
3. Target the Area Underneath the Ear for Better Fluid Flow (Shorter Stroke)
This technique is similar to Step 1 in that it uses a shorter stroke, but it focuses on the area directly beneath the ear, where the ear meets the neck. It helps drain fluid that accumulates in this sensitive area.
How to do it:
- Start point: Just under the earlobe, at the base of the ear.
- End point: The top of the collarbone.
- Stroke: Use short, gentle downward strokes to move fluid from directly under the ear down to the collarbone. Repeat 5-7 times on each side, using light pressure to avoid irritating this delicate area.
Key Difference Between Step 1 and Step 3:
- Step 1 targets the back of the ear (behind the earlobe), focusing on lymph nodes.
- Step 3 targets the area under the ear (beneath the earlobe), where fluid tends to accumulate.
4. Stimulate the Temples to Ease Ear Pressure (Horizontal Stroke)
The temples are connected to the ears through various nerve pathways. Gua sha strokes across the temples help relieve ear pressure by improving circulation.
How to do it:
- Start point: The center of the temple, about 1-2 inches behind the outer corner of the eye.
- End point: The hairline, just above the ear (near the sideburns).
- Stroke: Move the gua sha tool horizontally across the temple toward the hairline. Apply light pressure and repeat 5-8 strokes on each side. This stroke is effective for reducing ear-related headaches and tension.

5. Work Along the Entire Side of the Neck for Full Lymphatic Drainage (Longer Stroke)
This technique uses a longer stroke that covers the entire side of the neck, helping to stimulate a wider network of lymph nodes. While Steps 1 and 3 focus on specific areas behind and beneath the ear, this stroke is broader and works along the whole neck.
How to do it:
- Start point: Just below the earlobe, moving down the side of the neck.
- End point: The collarbone.
- Stroke: Use long, downward strokes with firm pressure, covering the entire side of the neck. Repeat 5-10 times on each side to promote full lymphatic drainage. This broader stroke stimulates more lymph nodes, enhancing overall fluid movement from the neck and ear areas.
Key Difference Between Step 5 and Step 1/Step 3:
- Step 5 covers a larger section of the neck, while Step 1 and Step 3 target more localized areas behind and under the ear.
- Step 5 uses a longer stroke compared to the shorter strokes in Steps 1 and 3, focusing on a broader lymphatic drainage pathway.
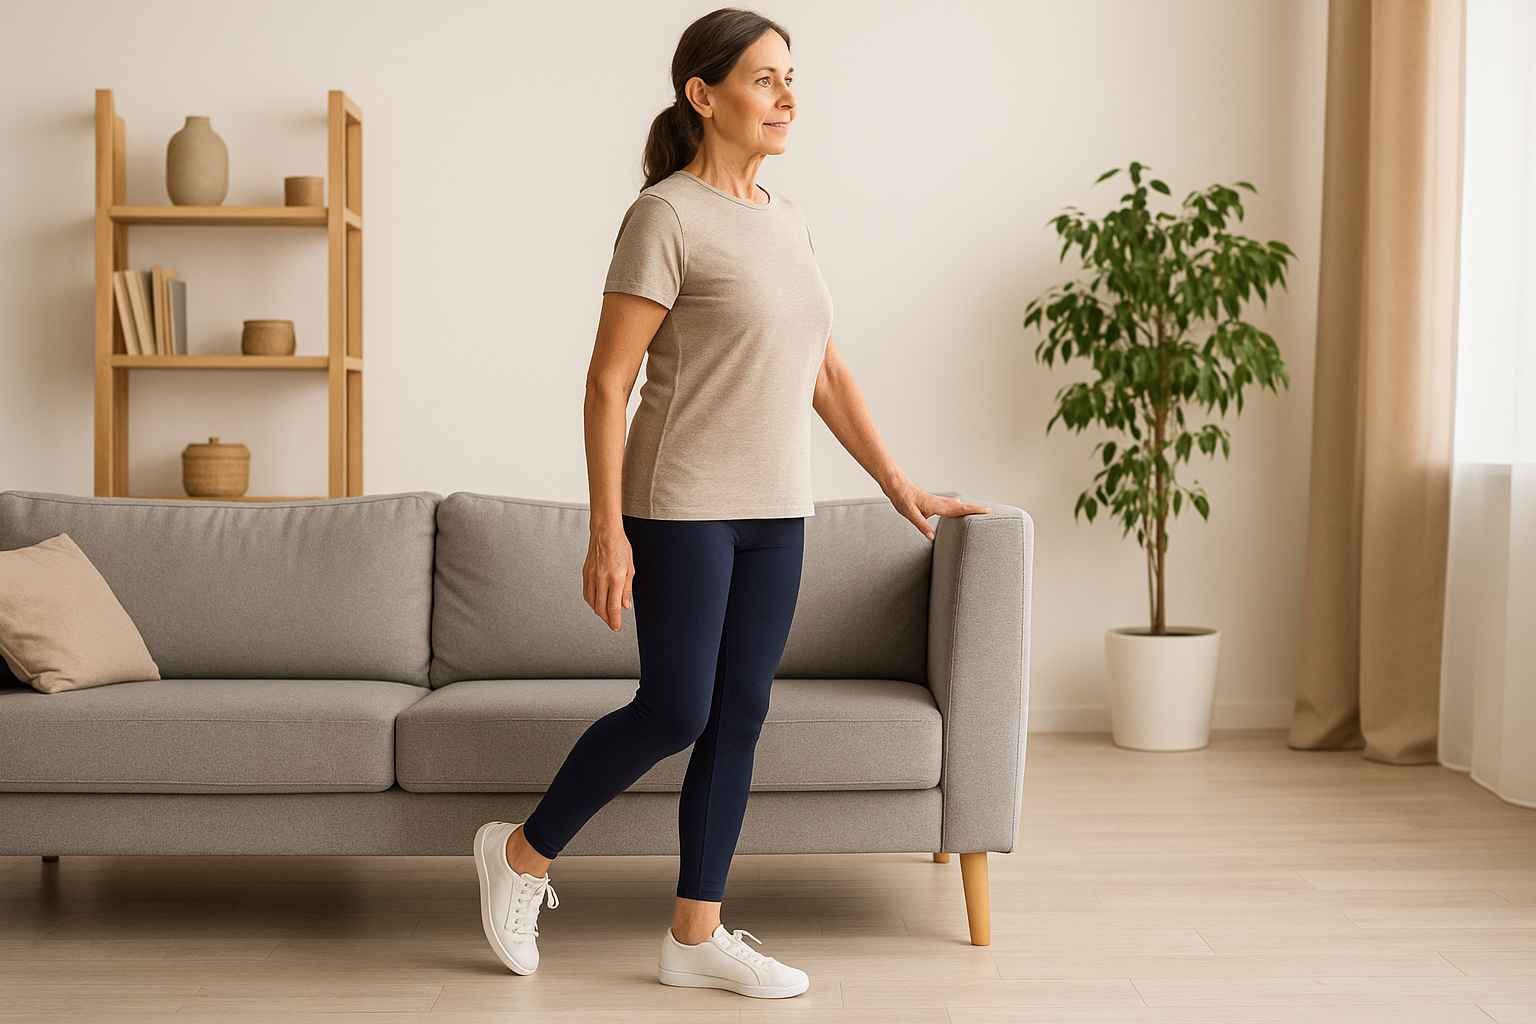
“When working with elderly individuals, it’s important to use very gentle pressure due to their delicate skin. Instead of dragging the gua sha tool, try using a light vibrating motion to avoid stressing fragile skin.”
— Ms. Mai Sogawa, Senior TCM Therapist
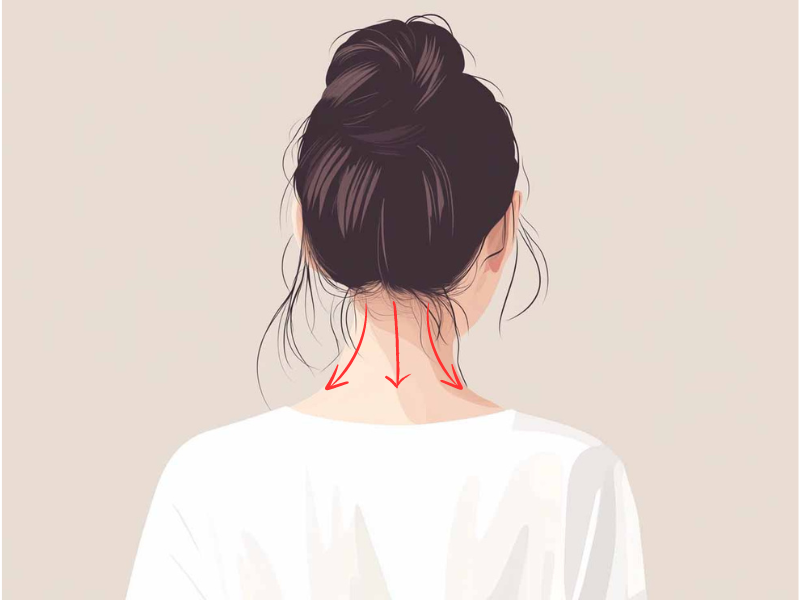
6. Scrape Behind the Neck for Enhanced Circulation (Longer Stroke)
Stimulating circulation at the base of the skull can help with ear drainage and also alleviate neck stiffness. This technique uses a longer stroke along the back of the neck.
How to do it:
- Start point: The base of the skull, where the neck and head meet.
- End point: Midway down the neck, just above the shoulders.
- Stroke: Use the long, smooth edge of your gua sha tool. Start at the base of the skull and glide the tool downward along the back of the neck. Apply medium pressure and repeat 5-7 times. This stroke helps relieve tension and improve circulation.
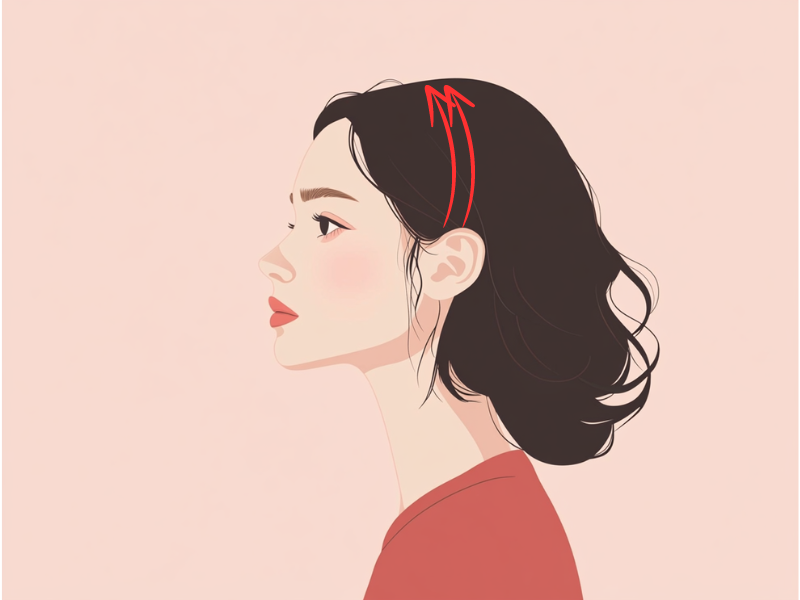
7. Stimulate the Scalp for a Holistic Approach to Ear Drainage (Vertical Stroke)
The scalp is closely connected to the ear region, and stimulating it with gua sha can enhance overall circulation and relieve fluid buildup.
How to do it:
- Start point: The scalp just above the ear.
- End point: The top of the head.
- Stroke: Use the toothed edge of a gua sha tool designed for scalp massages. Apply light pressure and scrape the tool from the area above the ear toward the top of the head. Focus on areas near the ears to support drainage. Repeat for 1-2 minutes using smooth, continuous strokes.
By incorporating these gua sha techniques into your routine, you can naturally promote ear drainage and improve your overall wellness. For more insights, consult our basic gua sha guide for additional tips and best practices.
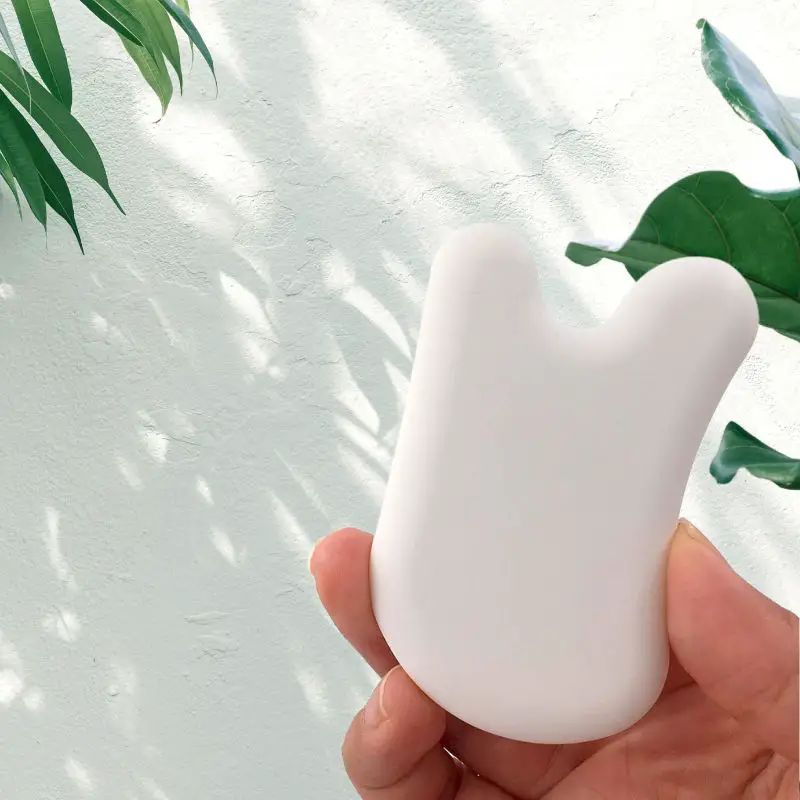
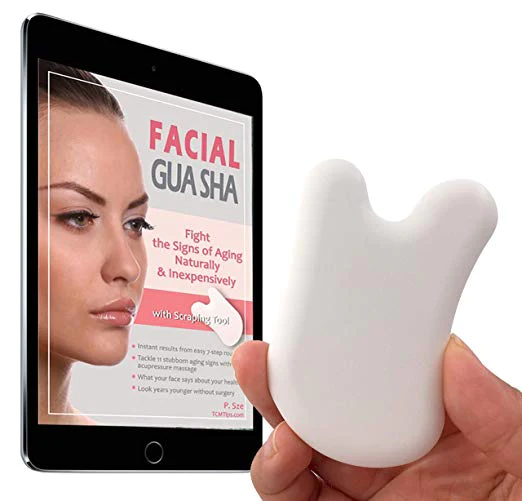
Try our Anti-Aging Gua Sha Tool designed to bring out your skin’s natural glow.
Best Gua Sha Product- Anti-Aging: The tool is designed to target 11 specific aging signs such as wrinkles and sagging skin. By following the 7-step routine, users can improve skin firmness and reduce fine lines naturally.
- Enhances Skincare Routine: It works effectively with serums and lotions, boosting absorption and efficacy of skincare products.
- Visible Skin Improvement: Users can expect a smoother complexion, reduced puffiness, and a more youthful appearance.