 P. Sze
Gua Sha, a cornerstone of Traditional Chinese Medicine (TCM), has long been celebrated for its therapeutic benefits. Beyond relieving muscle tension and improving circulation, Gua Sha has also made waves in the beauty industry. When used correctly, Gua Sha can enhance your facial aesthetics, sculpting your features and giving you a radiant glow. If you’re ready to take your beauty routine to the next level, here are eight Gua Sha techniques that will revolutionize how you care for your skin. To learn more about the basics of Gua Sha, you can check out our comprehensive guide.
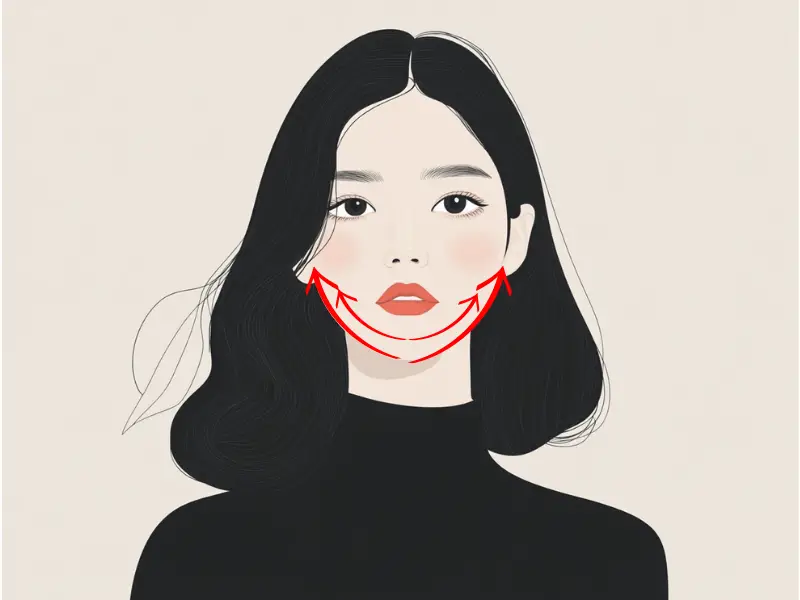
1. Sculpting the Jawline
To define and sculpt your jawline, start at the center of your chin. Using the curved side of your Gua Sha tool, gently glide it along your jawline, moving outward and upward toward your ear. Repeat this motion five to ten times on each side of your face. This technique helps reduce puffiness and tension in the jaw area, creating a more sculpted appearance.
Tips:
- Apply light to medium pressure.
- Use a facial oil to ensure smooth movement.
“The recommended time to perform Gua Sha is after a bath when blood circulation is improved. For optimal results, aim to practice Gua Sha 2-3 times per week.” — Ms. Mai Sogawa, Senior TCM Therapist
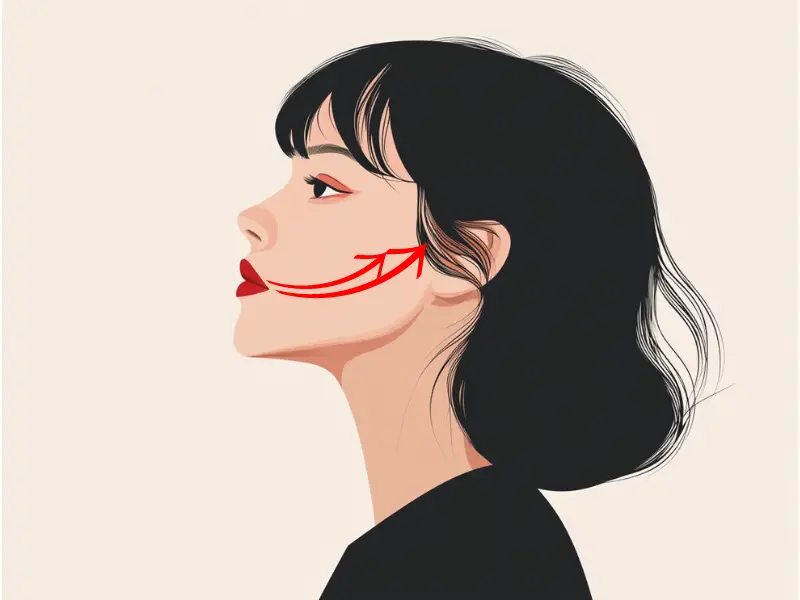
2. Lifting the Cheekbones
To accentuate your cheekbones, begin by placing the Gua Sha tool at the corner of your mouth. Hold the tool at a 15-degree angle to your skin and sweep it upward toward the top of your ear, following the natural contour of your cheekbone. This technique enhances circulation and promotes lymphatic drainage, leading to a more lifted and youthful appearance.
Tips:
- Focus on upward movements to avoid dragging the skin downward.
- Perform this technique daily for the best results.
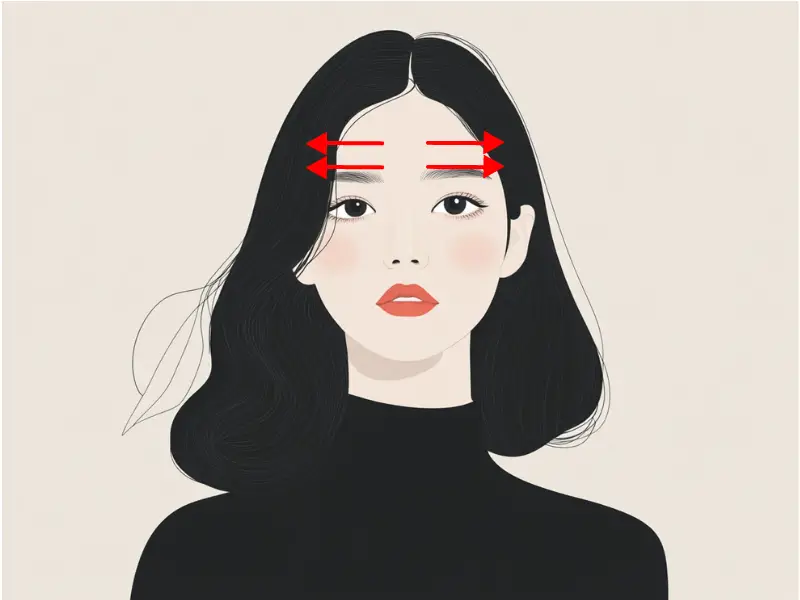
3. Smoothing Forehead Lines
To smooth forehead lines, start at the center of your forehead, just above your eyebrows. Using the flat edge of your Gua Sha tool, glide it outward toward your temples in a straight line. This motion helps relax the muscles that cause expression lines, promoting a smoother complexion over time.
Tips:
- Use gentle pressure to avoid irritation.
- Incorporate this technique into your evening routine for a calming effect.
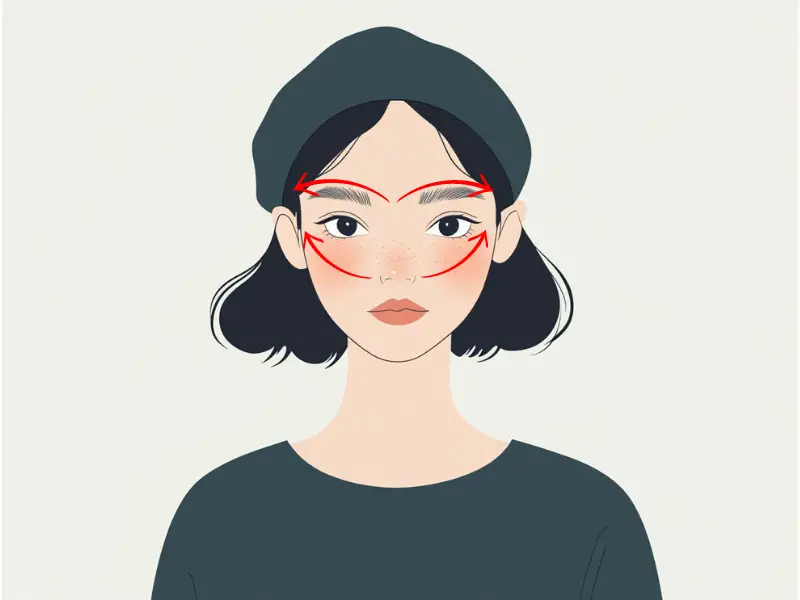
4. Depuffing the Eyes
For the delicate skin under your eyes, start at the inner corner of your eye, near the side of your nose. Using the narrow end of your Gua Sha tool, gently sweep it outward along the lower orbital bone, moving toward your temple. This technique helps to drain excess fluids and reduce inflammation, giving you a more refreshed look.
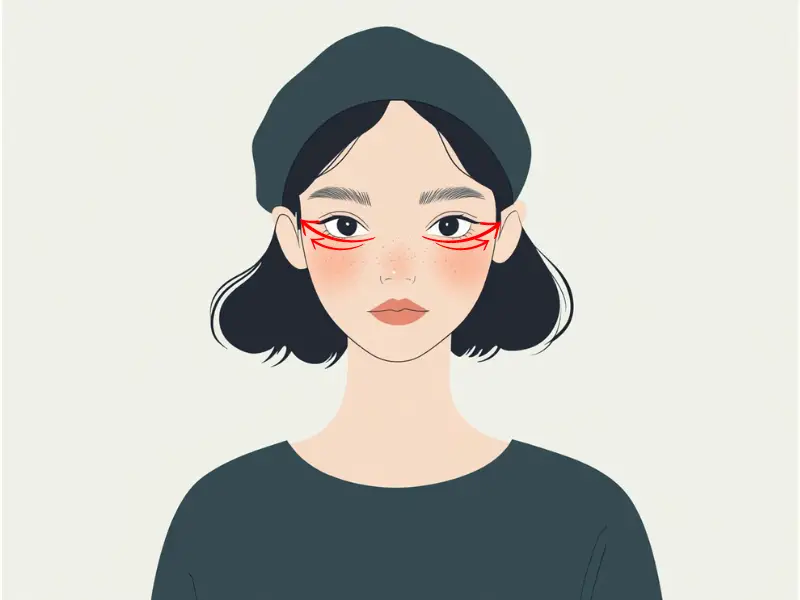
Tips:
- Use very light pressure due to the sensitivity of the skin around the eyes.
- Cool your Gua Sha tool in the fridge before use for added depuffing benefits.
5. Enhancing the Brow Area
To lift the brow area, place the narrow end of the Gua Sha tool just beneath the eyebrow at the inner brow. Glide the tool outward, following the brow bone, and continue toward the hairline at the temple. This technique helps lift the brows and open up the eye area, making you look more awake and rejuvenated.
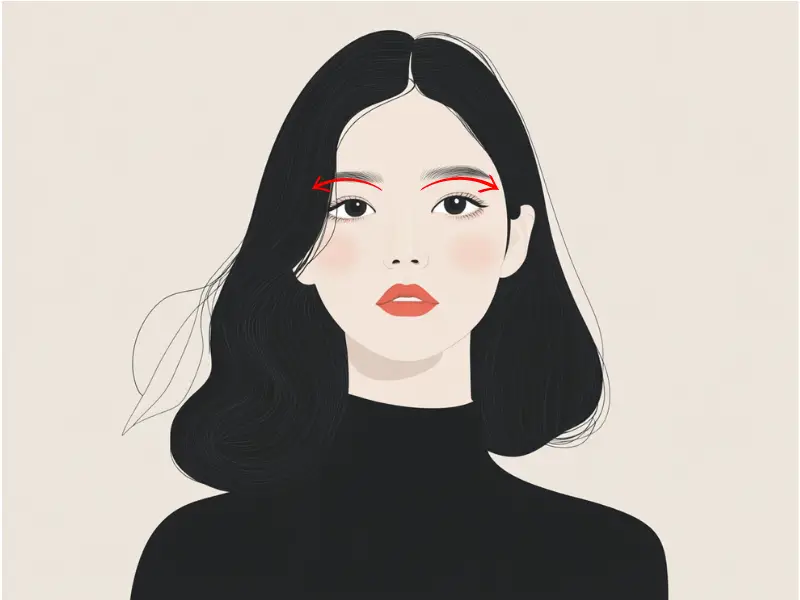
Tips:
- Apply firm but gentle pressure to effectively lift the brow area.
- Combine this technique with regular brow grooming for a polished look.
6. Slimming the Neck
To slim and tone the neck, start at the base of your neck, near the collarbone. Glide the Gua Sha tool upward, moving toward the jawline. This motion promotes lymphatic drainage and reduces water retention, leading to a more defined neck and jawline.
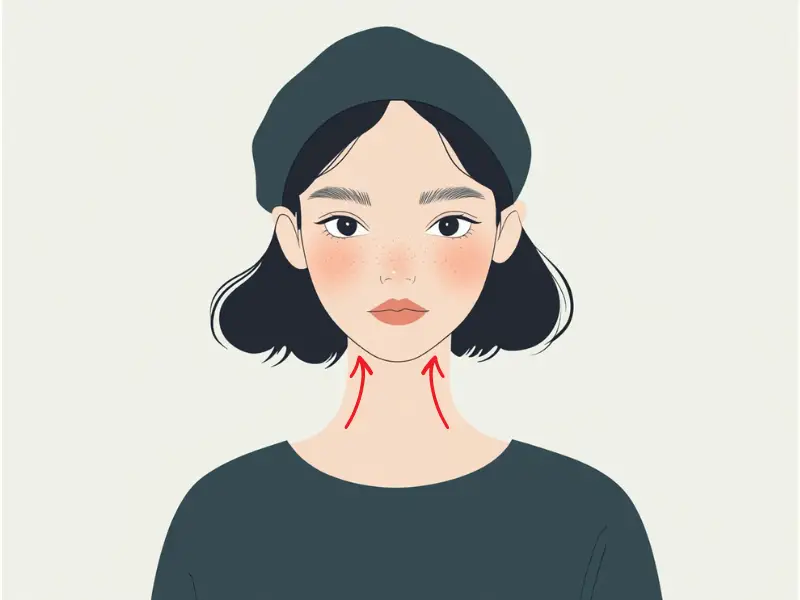
Tips:
- Use upward strokes to prevent sagging skin.
- Incorporate this technique into your morning routine for a refreshed look throughout the day.
7. Reducing Nasolabial Folds
To soften nasolabial folds, begin at the side of your nose where the fold starts. Using the edge of your Gua Sha tool, gently press into the fold and move outward toward your cheek, following the line of the fold. This technique helps release tension and smooth the appearance of these lines.
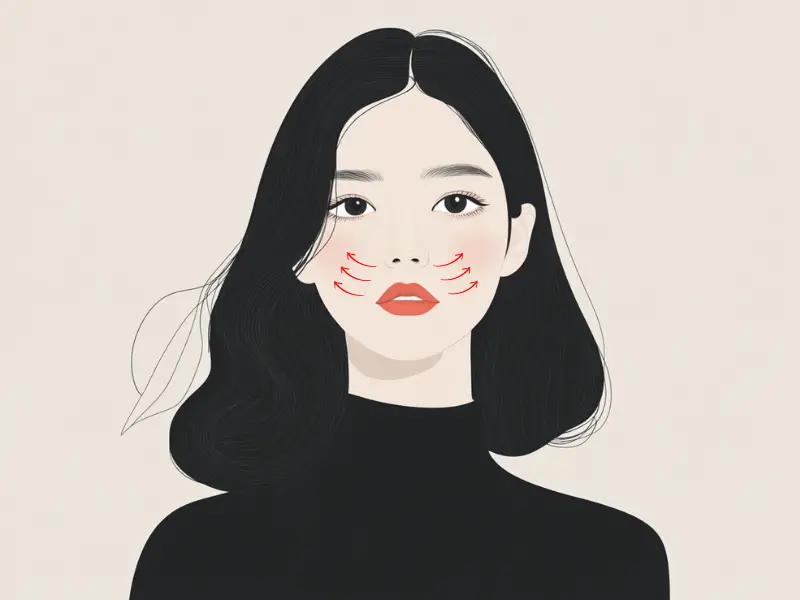
Tips:
- Be consistent with this technique to see noticeable results over time.
- Use a nourishing oil to keep the skin hydrated during the process.
8. Brightening the Complexion
For an overall brighter complexion, start at the center of your forehead, between your eyebrows. Using the Gua Sha tool, sweep it across your face in long, outward strokes, moving toward your hairline and temples. Continue these sweeping motions across your cheeks, starting from the sides of your nose and moving outward toward your ears. This technique encourages blood circulation and lymphatic drainage, which can give your skin a natural, healthy glow.
Tips:
- Perform this technique after applying your favorite serum to boost absorption.
- Consistent use can help reduce dullness and even out skin tone.
“After completing your Gua Sha routine, follow your usual skincare steps, with a special focus on hydration. Drinking water afterward is also important to help flush out the waste removed during the massage.” — Ms. Mai Sogawa, Senior TCM Therapist
Incorporating these Gua Sha techniques into your beauty routine can lead to noticeable improvements in your facial aesthetics. Whether you’re looking to sculpt, lift, or brighten, Gua Sha offers a natural, non-invasive way to achieve your beauty goals. Remember, consistency is key, so make Gua Sha a regular part of your skincare regimen for the best results.
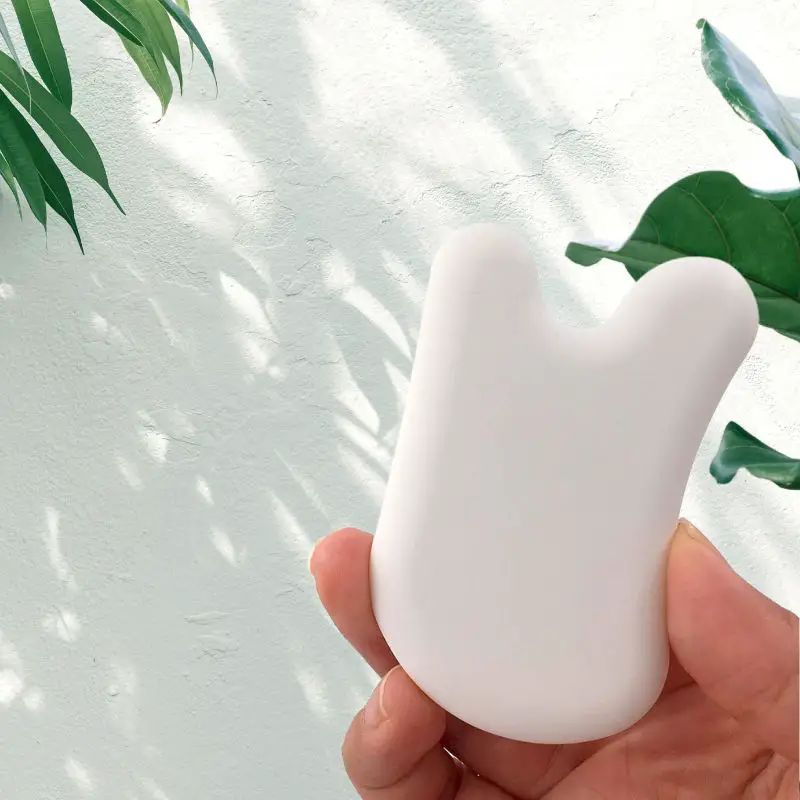
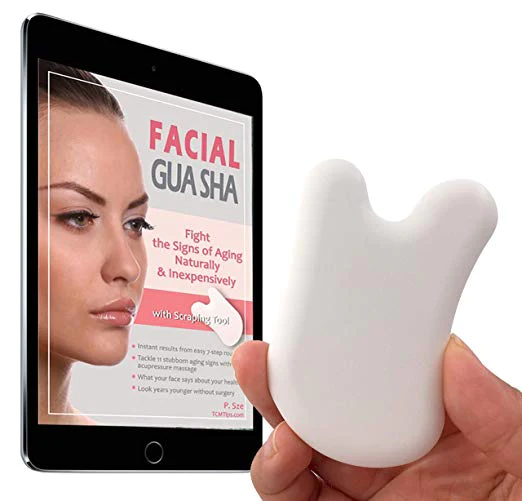
Try our Anti-Aging Gua Sha Tool designed to bring out your skin’s natural glow.
Best Gua Sha Product- Anti-Aging: The tool is designed to target 11 specific aging signs such as wrinkles and sagging skin. By following the 7-step routine, users can improve skin firmness and reduce fine lines naturally.
- Enhances Skincare Routine: It works effectively with serums and lotions, boosting absorption and efficacy of skincare products.
- Visible Skin Improvement: Users can expect a smoother complexion, reduced puffiness, and a more youthful appearance.