 P. Sze
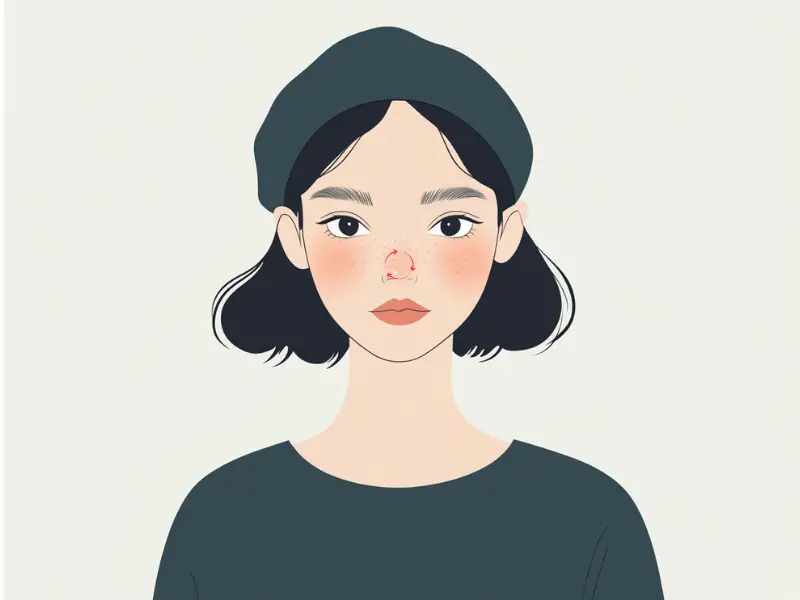
Gua sha, a revered technique in Traditional Chinese Medicine (TCM), is widely recognized for its ability to enhance facial features and improve overall skin health. One of its many uses is nose contouring, allowing you to achieve a more defined and sculpted nose naturally. In this guide, we’ll walk you through a six-step gua sha tutorial to help you master nose contouring. Before starting, you might find our basic guide to gua sha helpful to get acquainted with the technique and its broader benefits.
Step 1: Prepare Your Skin and Tool
Before beginning, it’s important to prepare both your skin and your gua sha tool. Start by thoroughly cleansing your face to remove any impurities. Follow up with a hydrating toner to balance your skin’s pH levels. Apply a few drops of facial oil or a light moisturizer to your nose and surrounding areas. This will ensure that the gua sha tool glides smoothly over your skin, minimizing friction and preventing irritation.
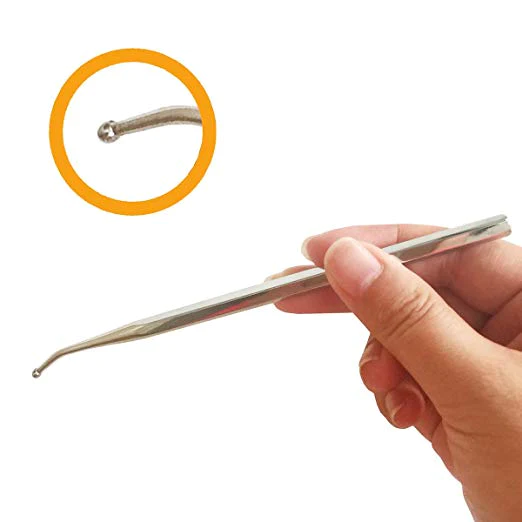
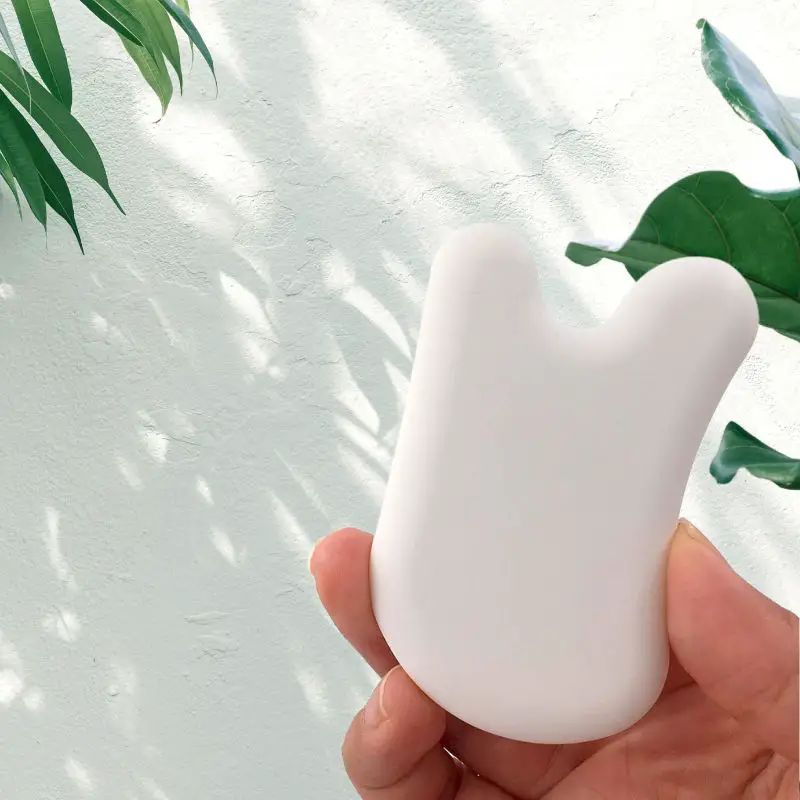
Select a gua sha tool with a smaller edge or a pointed tip, ideal for precise work on the nose. Jade or rose quartz tools are commonly used for their cooling effects and smooth texture. Ensure your tool is clean before use to maintain good hygiene and prevent any potential breakouts.
“When performing gua sha on the face, always use gentle pressure similar to stroking. For areas like the cheeks, use the gentle curve or the side that best fits your face, applying light pressure to avoid irritation, especially under the cheekbones where waste can accumulate.” — Ms. Mai Sogawa, Senior TCM Therapist
Step 2: Begin with Gentle Strokes Along the Sides of the Nose
Hold the gua sha tool at a 15-degree angle to your skin. Start at the bridge of your nose, right between your eyebrows. Glide the tool downward along the sides of your nose, following a vertical line, until you reach the area just above your nostrils. This stroke should cover the entire length of the side of your nose. As you reach the nostrils, you can slightly extend the stroke outward toward your cheeks to ensure full coverage.
Repeat this vertical stroke 5-10 times on each side of your nose, using light pressure. The key is consistency rather than force—too much pressure can lead to irritation or bruising.

Step 3: Focus on the Nostrils for Definition
Next, target the area directly around your nostrils to further enhance the contour of your nose. Begin just above your nostrils where the previous stroke ended. Use the pointed tip or narrow edge of your gua sha tool to glide outward toward your cheeks in a gentle, horizontal stroke. This motion helps to sculpt the sides of your nose and the area around the nostrils, enhancing its definition.
Perform this horizontal stroke 5-7 times on each side, ensuring your movements are even and controlled.
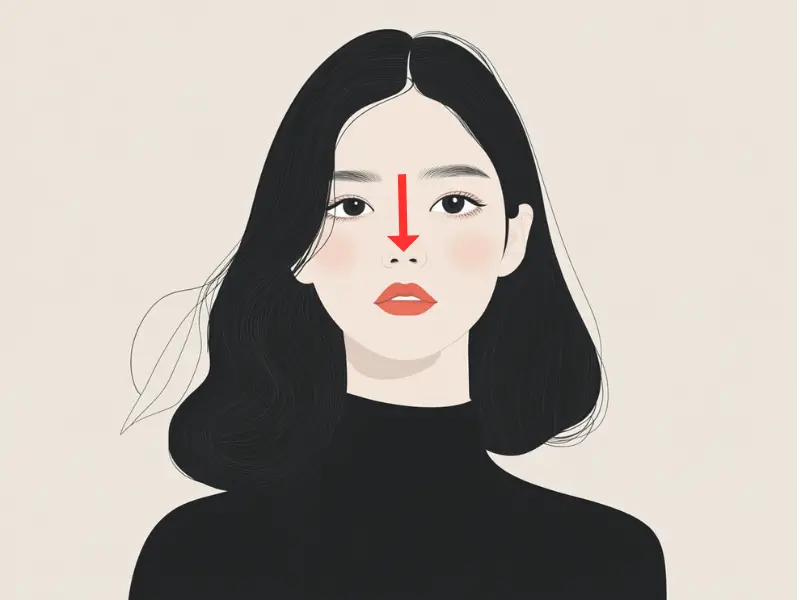
Step 4: Refine the Bridge of the Nose
To create a more prominent bridge, place the edge of the gua sha tool at the center of your nose, between your eyebrows. Slowly glide the tool downward along the bridge of your nose, following its natural vertical curve, until you reach the tip of your nose. This technique not only highlights the bridge but also boosts circulation, improving skin texture and tone.
Repeat this downward stroke 5-10 times, applying slightly more pressure as you reach the tip of your nose. This will help lift and shape the nose, giving it a more refined appearance.
Step 5: Work on the Tip of the Nose
The tip of the nose can be tricky to contour, but with the right technique, gua sha can help create a more balanced and symmetrical appearance. Place the pointed tip of your gua sha tool at the tip of your nose. Use small, circular motions directly on the tip to reduce puffiness and excess fluid, making the tip appear more lifted and defined.
Spend about 1-2 minutes focusing on this area, using a light touch to avoid discomfort.
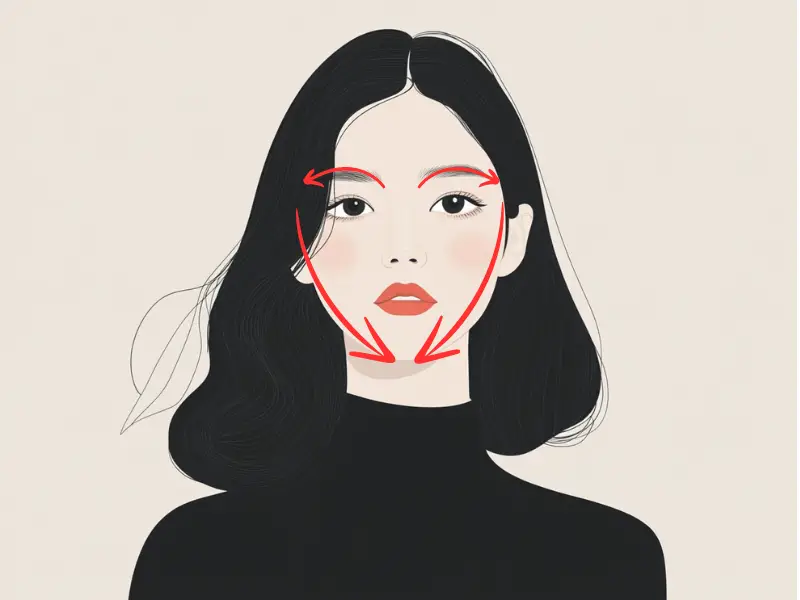
Step 6: Finish with a Heart-Shaped Lymphatic Drainage Massage
To complete your nose contouring routine, perform a lymphatic drainage massage using the gua sha tool. Start at the bridge of your nose, between your eyebrows. Glide the tool outward along your brow line toward your temples, creating the upper curves of a heart shape.
From the temples, guide the tool downward along the sides of your face, passing under your cheekbones, and continue moving down toward your jawline. Once you reach just below your ears, bring the tool inward along the jawline toward your chin, completing the heart shape.
“After gua sha, follow your usual skincare routine with a focus on proper hydration. Additionally, drink water to help flush out the waste removed during the massage for optimal results.” — Ms. Mai Sogawa, Senior TCM Therapist
Repeat this heart-shaped motion 3-5 times on each side of your face, using gentle pressure. This technique not only helps maintain the shape you’ve created but also promotes relaxation and leaves your skin looking radiant.
By incorporating these six easy steps into your skincare routine, you can master the art of gua sha for nose contouring. Consistency is key—regular practice will yield the best results. Gua sha is not just a tool for enhancing your facial features; it’s also a therapeutic practice that supports overall well-being.
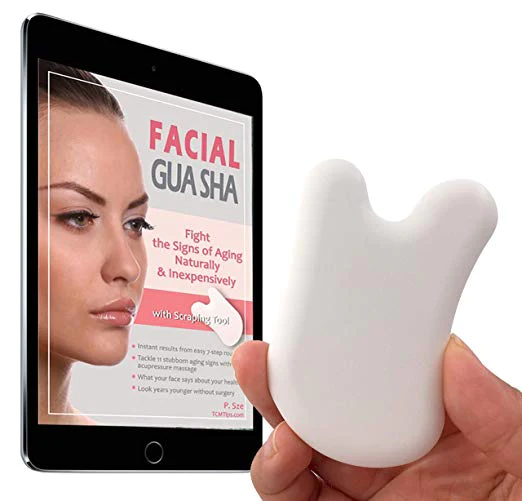
Try our Anti-Aging Gua Sha Tool designed to bring out your skin’s natural glow.
Best Gua Sha Product- Anti-Aging: The tool is designed to target 11 specific aging signs such as wrinkles and sagging skin. By following the 7-step routine, users can improve skin firmness and reduce fine lines naturally.
- Enhances Skincare Routine: It works effectively with serums and lotions, boosting absorption and efficacy of skincare products.
- Visible Skin Improvement: Users can expect a smoother complexion, reduced puffiness, and a more youthful appearance.