 P. Sze
Gua sha has become a go-to skincare ritual for improving circulation, reducing puffiness, and giving your face a sculpted, lifted look. To get the most out of this ancient technique, mastering the correct gua sha face directions is key. Using proper strokes ensures that your skin reaps maximum benefits from this practice. If you’re new to gua sha, you can check out our gua sha basic guide to start with the fundamentals.
The directions you use when practicing gua sha play a crucial role in the results you see. Proper technique helps guide stagnant lymph fluid away from your face, promoting lymphatic drainage and reducing puffiness. It also aligns with the meridians and natural pathways in Traditional Chinese Medicine, helping to restore balance in the body.
Additionally, your gua sha direction should align with your goal:
- For lifting and sculpting, focus on upward strokes to counteract gravity, tone the skin, and enhance facial contours.
- For lymphatic drainage, use downward strokes, which help flush toxins and fluids by guiding them toward the lymph nodes, typically located in the neck and collarbone areas.
If you want to incorporate both lifting and lymphatic drainage into your routine, always start with downward strokes for drainage. This clears the pathways for lymphatic fluid to flow freely, making your lifting strokes more effective.
Let’s explore the specific directions for each facial area and why they are important.
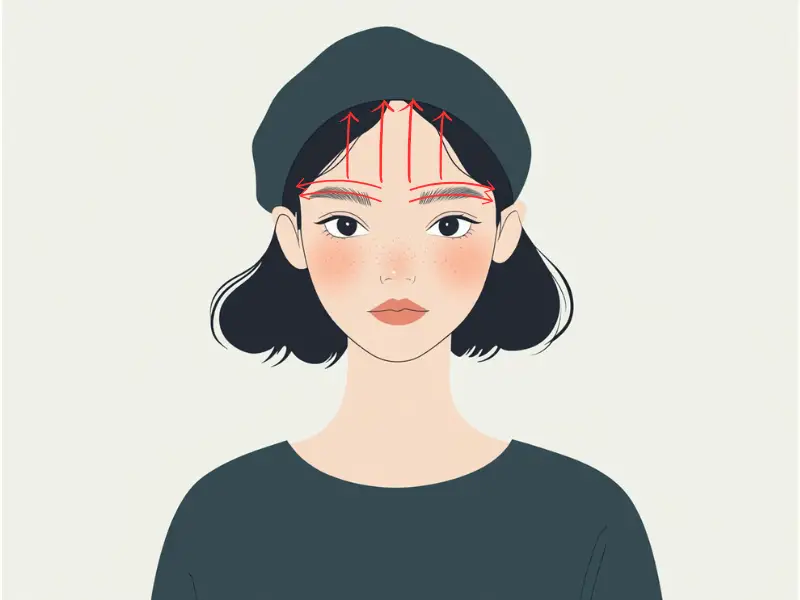
Directions for the Forehead
- Upward strokes to lift: Begin at the center of your forehead, just above the brows. Use the flat edge of the gua sha tool to glide upward toward the hairline. Repeat 5–10 times on each side.
- These upward motions counteract gravity, encouraging a lifting effect while also improving blood flow to this area. This helps diminish the appearance of fine lines and brings oxygen-rich nutrients to your skin.
- Sweep outward for relaxation: Starting at the middle of the forehead, move outward toward the temples.
- The forehead often holds tension, especially from stress or screen time. Outward strokes relax the muscles, releasing tension that can lead to wrinkles and headaches.
“The body has more fat and larger muscles compared to the face, so it’s okay to apply a bit more pressure. It’s best to glide the tool from the extremities towards the center of the body, or in the direction of the lymph nodes (e.g., under the arms or around the groin).” — Ms. Mai Sogawa, Senior TCM Therapist
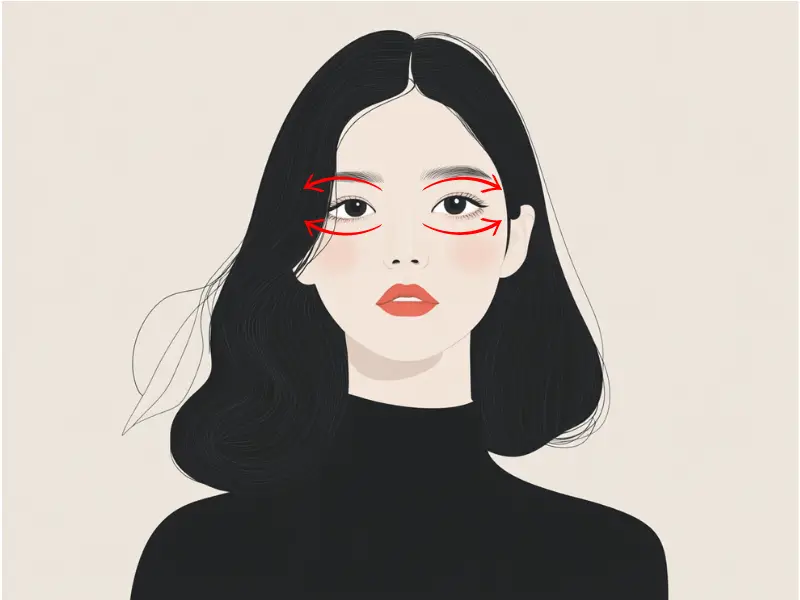
Directions for the Eyebrows and Eye Area
- Follow the brow line: Place the tool under your eyebrows at the bridge of the nose. Sweep gently outward along the brow bone, finishing at the temples.
- The brow area is another hotspot for tension, particularly if you frown or squint often. Targeting this area helps relax the muscles and lift the brows, giving a more refreshed look.
- De-puff the under-eye area: Using the curved edge, begin at the inner corner of your eye and glide outward under the eye toward the temple. Always use a light touch to avoid pulling delicate skin.
- Puffiness under the eyes is often caused by fluid retention. Gently gliding the tool in the right direction encourages lymphatic drainage, which reduces swelling and brightens the area.
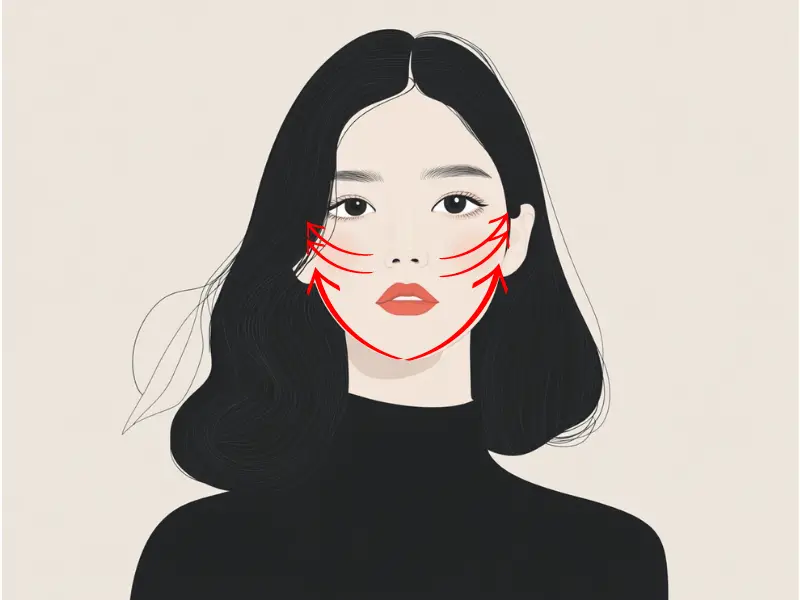
Cheeks: How to Sculpt and Define
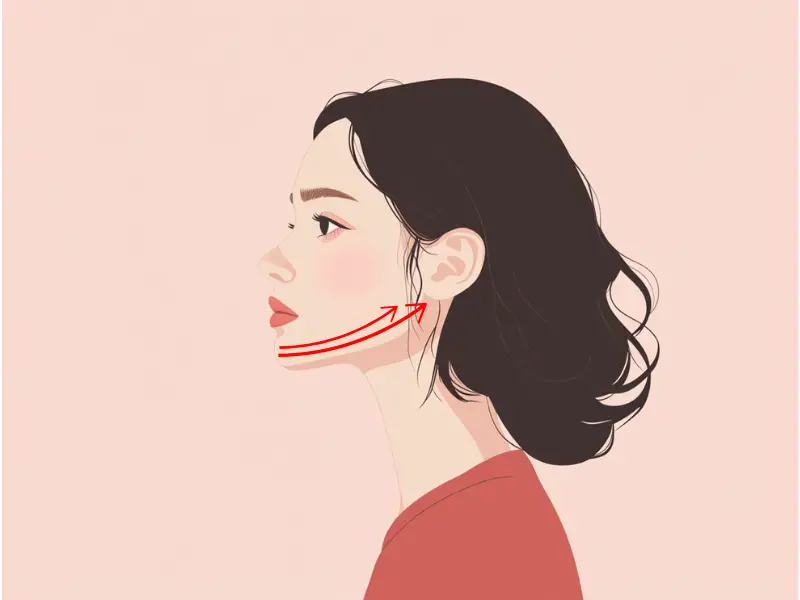
- From nose to ear: Start beside the nostrils and use the gua sha tool to glide upward and outward toward the ears.
- The cheeks are one of the most noticeable areas for puffiness. Guiding lymphatic fluid toward the ears allows it to drain properly, resulting in a slimmer, more contoured appearance.
- Work the jawline: Position the tool along the jawline, just above the edge of the chin, and glide outward, following its natural curve.Jawline strokes help stimulate the facial muscles, firming the skin while reducing fluid buildup in the lower face.
“For bones, focus on the edge of the bone, and for muscles, it’s effective to massage areas where you feel tension. Direct the flow towards the lymph nodes, such as behind the ears, down the neck, and towards the armpits. For smaller areas like the sides of the nose, gentle pressing or slight shaking provides the right stimulation.” — Ms. Mai Sogawa, Senior TCM Therapist
Directions for the Jawline and Chin
- Jawline contouring: Begin at the center of your chin and sweep the tool outward along the jawline toward the earlobe. Use the edge of the gua sha tool to hug the bone for a more defined contour.
- This technique focuses on sculpting the jawline, an area prone to sagging as we age. The movement boosts circulation and tones the underlying muscles for a sharper, more youthful look.
- Under the chin: Place the tool beneath your chin and glide down along the neck toward the collarbone.
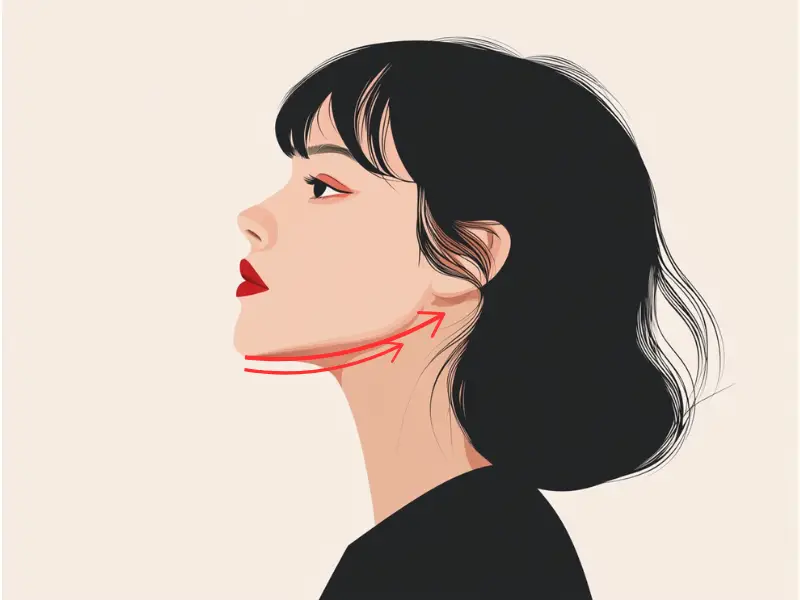
Under-the-chin strokes reduce swelling and help to prevent the buildup of fat or fluid in this area, creating a more lifted appearance.
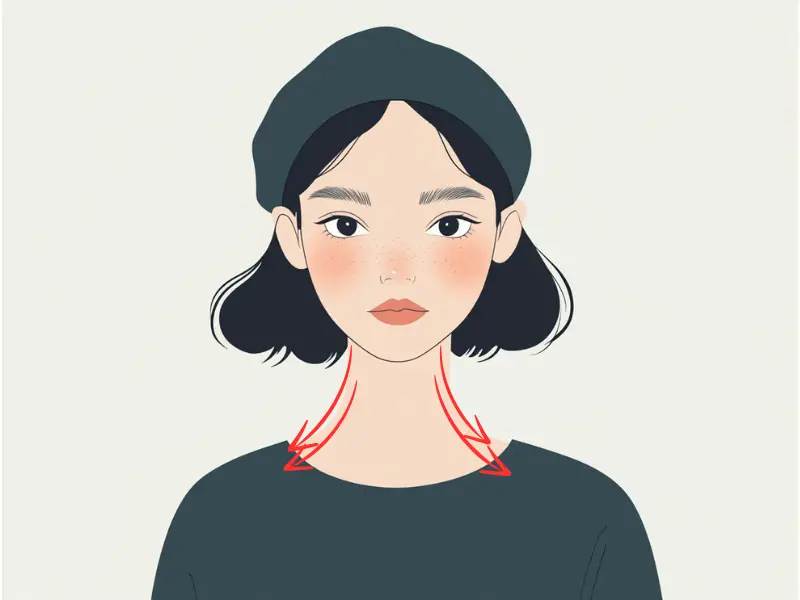
The Neck: Essential for Lymphatic Drainage
- Sweep downward: Start at the base of your ear and glide the tool downward along the neck toward the collarbone.
-
- The neck acts as the body’s main drainage pathway for lymphatic fluid. Clearing this area first ensures the rest of your gua sha routine is more effective, as fluids have a clear exit route.
- Don’t forget the back of the neck: Place the gua sha tool at the nape of your neck and glide downward toward your upper back.

-
- The back of the neck holds tension that can hinder proper lymphatic flow. Releasing this tension improves posture, circulation, and overall relaxation.
Tips for an Effective Gua Sha Routine
To maximize your results, follow these essential tips:
- Use light to moderate pressure: Avoid applying too much pressure to prevent bruising or irritation. Gentle strokes are more effective for lymphatic drainage.
- Keep the tool at an angle: Hold the gua sha tool at about 15–30 degrees to your skin for optimal results. This allows the tool to work efficiently while being gentle on your skin.
- Lubricate your skin: Always use a facial oil or serum to allow the tool to glide smoothly over your skin. Skipping this step can cause tugging, which may irritate your skin.
- Stay consistent: Incorporate gua sha into your skincare routine 3–5 times a week for best results.
By following these gua sha face directions, you’re not just enhancing the health of your skin but also embracing a holistic method to relieve stress and improve your overall well-being. With each stroke, you’re aligning with centuries of Traditional Chinese Medicine wisdom while promoting a glowing, sculpted complexion.
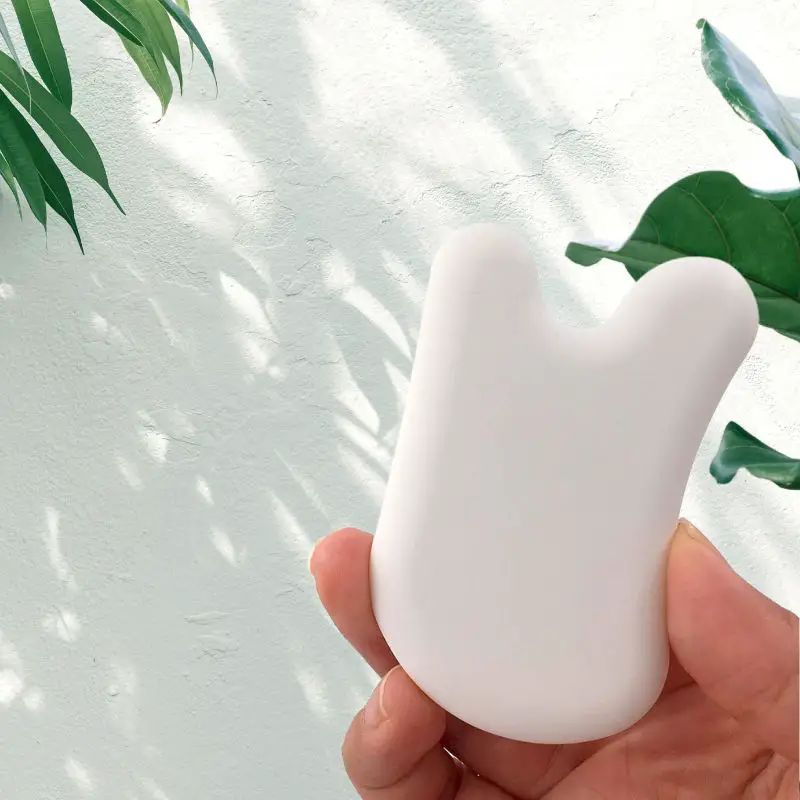
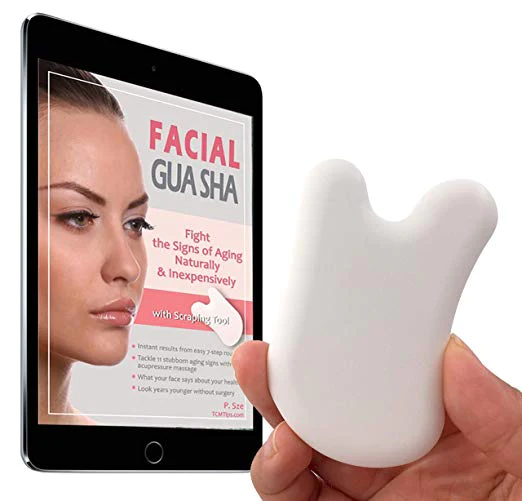
Try our Anti-Aging Gua Sha Tool designed to bring out your skin’s natural glow.
Best Gua Sha Product- Anti-Aging: The tool is designed to target 11 specific aging signs such as wrinkles and sagging skin. By following the 7-step routine, users can improve skin firmness and reduce fine lines naturally.
- Enhances Skincare Routine: It works effectively with serums and lotions, boosting absorption and efficacy of skincare products.
- Visible Skin Improvement: Users can expect a smoother complexion, reduced puffiness, and a more youthful appearance.