 P. Sze
Gua Sha is an ancient technique used to release tension, improve circulation, and promote relaxation. When applied to the back, this Traditional Chinese Medicine method can help ease stress-related muscle tightness. By using a Gua Sha tool to scrape the skin, you stimulate blood flow and relieve tightness. If you’re new to this technique, check out our Gua Sha basic guide for a detailed introduction. Below, we explain five easy steps to use Gua Sha on your back to relieve stress and muscle discomfort.
“Gua Sha can be effective on any part of the body. For the face, it can help with lifting, brightening the complexion, and reducing puffiness. For the body, areas such as the neck, shoulders, and lower back, where muscles are particularly stiff and tense, are likely to show the most noticeable effects.” — Ms. Mai Sogawa, Senior TCM Therapist
Step 1: Choose the Right Gua Sha Tool and Lubricant
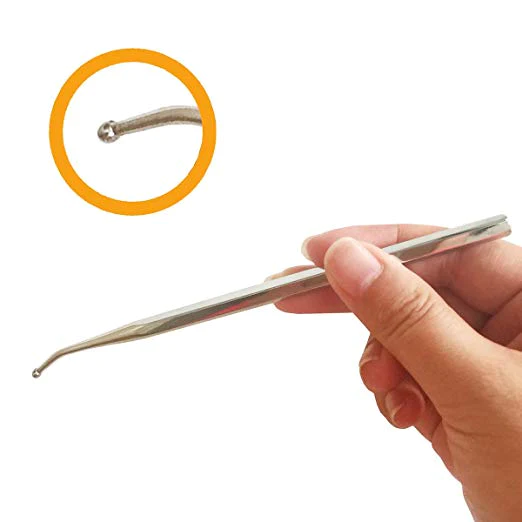
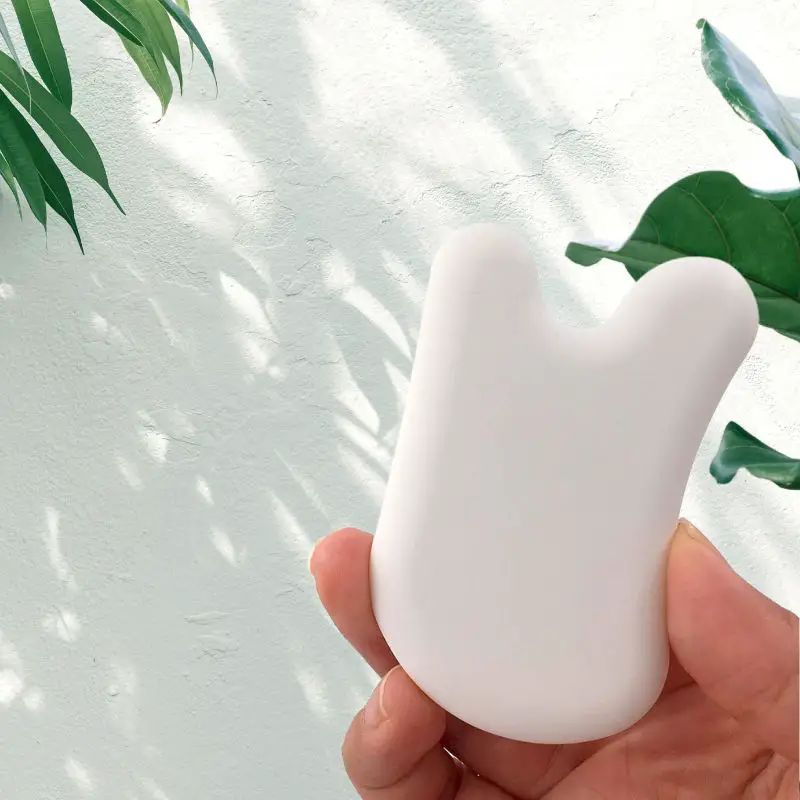
Before starting, select the appropriate Gua Sha tool. For your back, a larger tool with a smooth, broad edge is ideal since it covers more surface area and allows for better control over pressure. Gua Sha tools are typically made of materials like jade or rose quartz, but the material is a matter of preference.
Next, apply a lubricant such as body oil, lotion, or coconut oil to the back. This will help reduce friction and allow the tool to glide smoothly over the skin. Without lubrication, the skin may become irritated, making the session uncomfortable.
- Use a large Gua Sha tool for better control and coverage.
- Apply body oil or lotion to reduce friction and protect the skin.
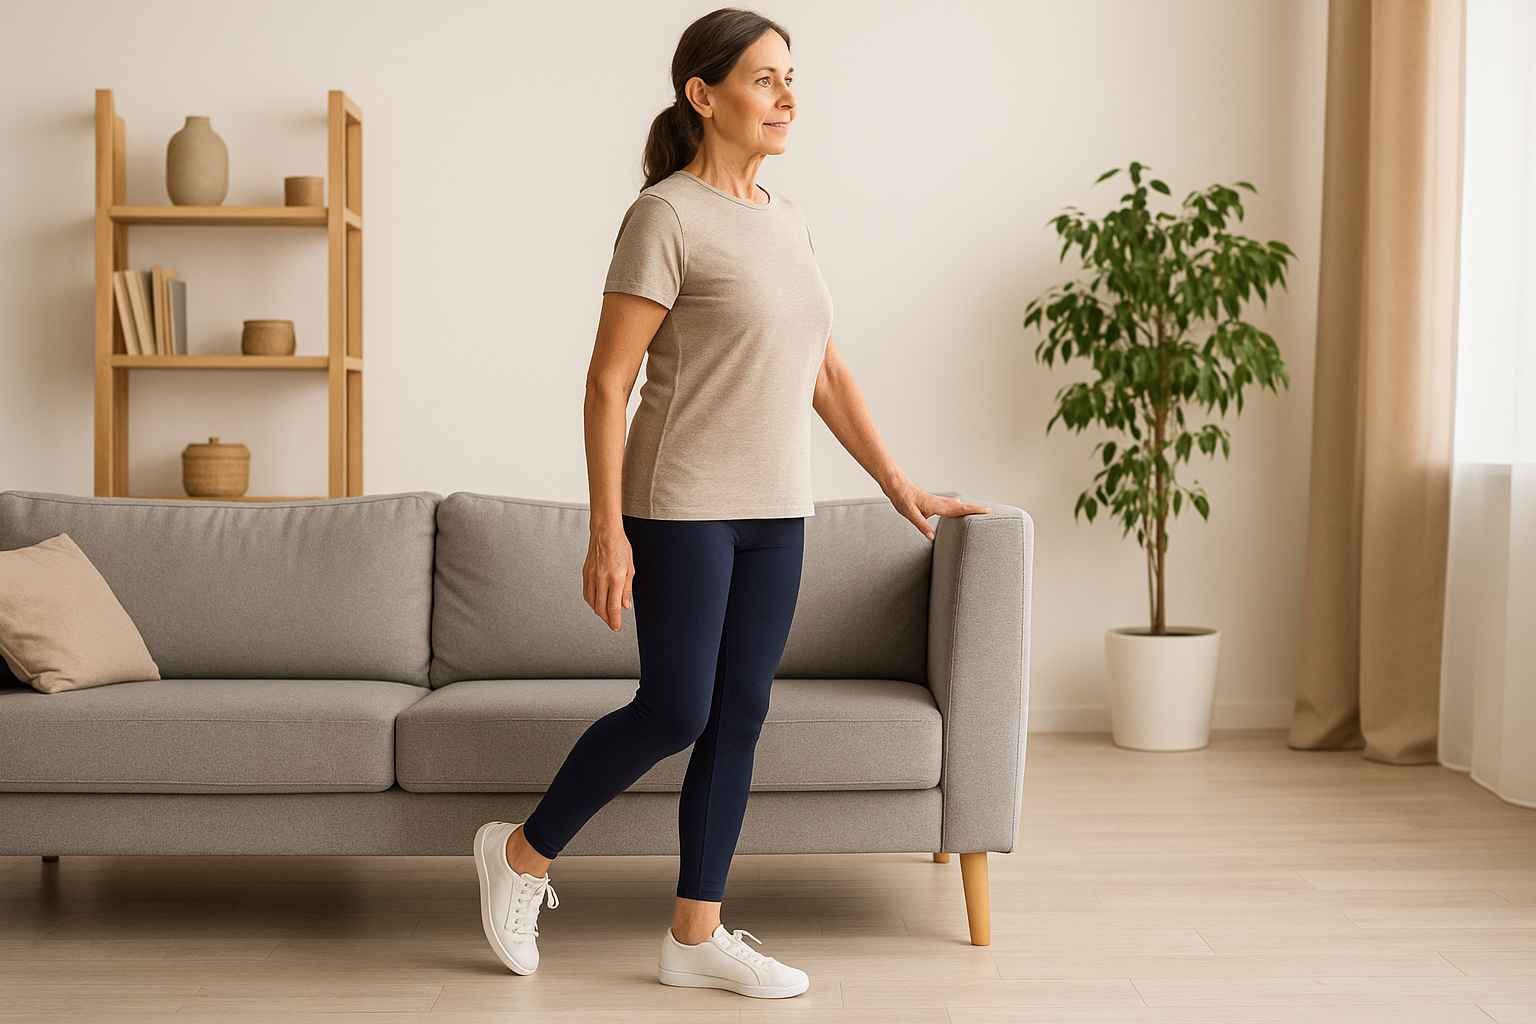
Step 2: Get into a Comfortable Position
Since working on your back can be difficult, especially if you’re performing Gua Sha on yourself, it’s important to find a comfortable position. If you have someone assisting you, lie down flat on your stomach on a firm surface such as a massage table or a yoga mat. If you’re working alone, sit in a chair with your back exposed or use a mirror to guide your movements.
If you prefer lying down but don’t have help, you can prop yourself up with cushions or use a mirror to check your progress. Adjust your position so that the back is easily accessible for Gua Sha strokes.
- Lie face down for assisted Gua Sha or sit upright for self-application.
- Use a mirror if you’re doing Gua Sha alone for better visibility.
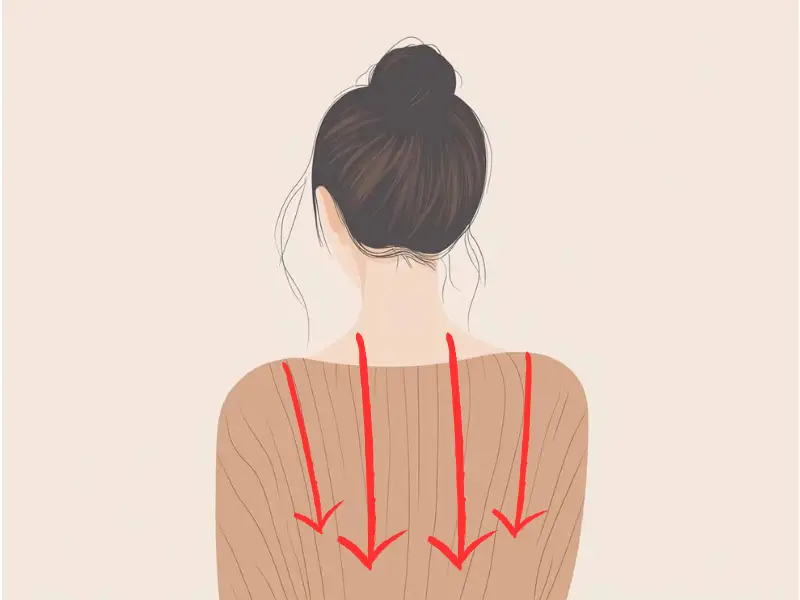
Step 3: Apply Downward Strokes on the Upper Back
Reaching the upper back can be tricky, but adjusting your posture can help. Sit slightly hunched forward to spread the shoulder blades or, if lying down, place a rolled-up towel under your chest to elevate the upper back. This allows you or your assistant to reach the area effectively.
For the upper back, use downward strokes, starting near the base of the neck and moving down toward the middle of the back. The downward strokes help relieve tension in the trapezius and shoulder muscles, which are common areas of stress buildup. Always avoid applying the tool directly on the spine—focus on the muscles on either side.
- Sit forward or prop yourself up to reach the upper back effectively.
- Use long downward strokes from the shoulders to the middle of the back, focusing on the muscles around the spine.
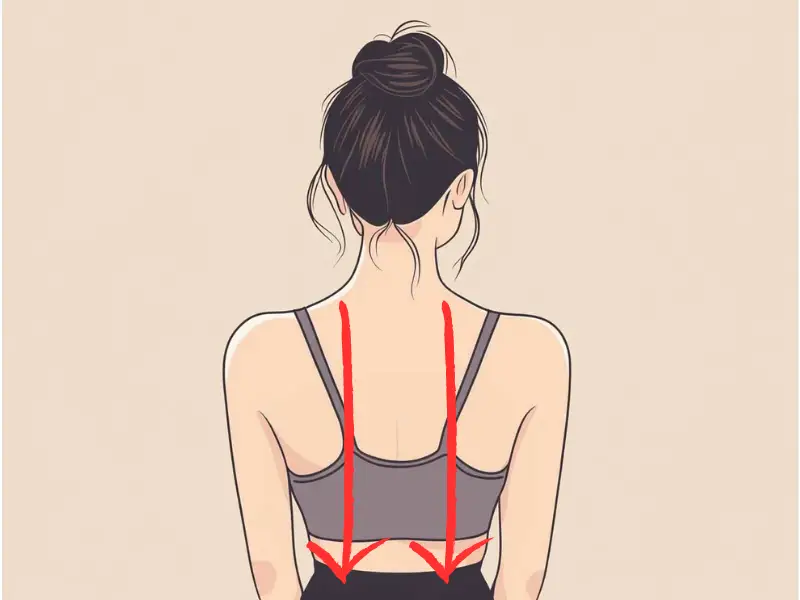
Step 4: Use Upward Strokes on the Lower Back
The lower back holds tension differently than the upper back, especially for people who sit for long periods. For the lower back, begin at the base of the spine and use upward strokes toward the middle of the back. This direction follows the natural alignment of the lower back muscles, particularly the erector spinae, which run vertically along the spine.
As with the upper back, avoid applying pressure directly on the spine. Focus on the muscles next to the spine, where tension and stiffness often build up. This upward stroke technique helps release deep muscle knots and promote relaxation.

Why Different Stroke Directions?
- Upper back strokes move downward because they help release tension in the trapezius and shoulder muscles, which tend to tighten near the shoulders.
- Lower back strokes move upward to follow the structure of the erector spinae muscles, promoting effective tension release and muscle recovery in the lower back.
- Work from the base of the spine upward to follow the natural muscle structure.
- Avoid direct pressure on the spine to prevent discomfort.
Step 5: Finish with Sweeping, Relaxing Strokes
After focusing on both the upper and lower back, finish the session with long, sweeping strokes across the entire back. These gentle strokes help spread the benefits of Gua Sha evenly across the muscles, promoting a sense of relaxation and well-being.
Applying Gua Sha to your back by yourself can be challenging, but here are a few tips to make it easier:
- Use a Gua Sha tool with a longer handle, which can help you reach difficult spots on your upper and middle back.
- Divide the back into smaller zones rather than trying to cover large areas at once. Focus on the upper back and shoulders first, then shift to the lower back.
- Use a chair or wall for support by sitting in a chair and leaning slightly forward, or stand with your back against a wall while using the Gua Sha tool with both hands. The wall can help stabilize your body while you apply the strokes.
- Focus on accessible areas, like the shoulders and lower back, if reaching the middle of your back is too difficult.
If you have someone to assist you, the process becomes much easier, as they can apply strokes to harder-to-reach areas with proper pressure and technique.
“For the sinuses, gently move the Gua Sha tool along the sides of the nose and under the cheekbones, using a vibrating motion to loosen tension. For the chest, glide the tool along the area above and below the collarbone and around the ribs. For the back, although it can be challenging to do on yourself, focusing on the muscles along the spine and around the shoulder blades can be effective.” — Ms. Mai Sogawa, Senior TCM Therapist
- Use light, sweeping strokes to calm the muscles and complete the session.
- Take deep breaths to maximize the stress-relief benefits.
Tips for Effective Gua Sha on Your Back
- Hydrate well before and after your session to help flush out toxins that may be released.
- Apply a warm compress or heating pad to your back post-session to further relax the muscles.
- Perform Gua Sha 2-3 times a week for ongoing stress relief and improved muscle recovery.
By following these five easy steps, adjusting your posture, and using appropriate stroke directions, you can safely and effectively use Gua Sha to relieve tension and stress in your back. Whether you’re doing it on your own or with help, this technique offers powerful benefits for both relaxation and physical well-being.
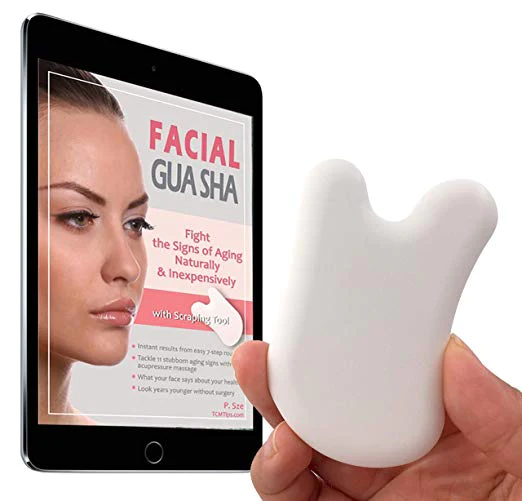
Try our Anti-Aging Gua Sha Tool designed to bring out your skin’s natural glow.
Best Gua Sha Product- Anti-Aging: The tool is designed to target 11 specific aging signs such as wrinkles and sagging skin. By following the 7-step routine, users can improve skin firmness and reduce fine lines naturally.
- Enhances Skincare Routine: It works effectively with serums and lotions, boosting absorption and efficacy of skincare products.
- Visible Skin Improvement: Users can expect a smoother complexion, reduced puffiness, and a more youthful appearance.