 P. Sze
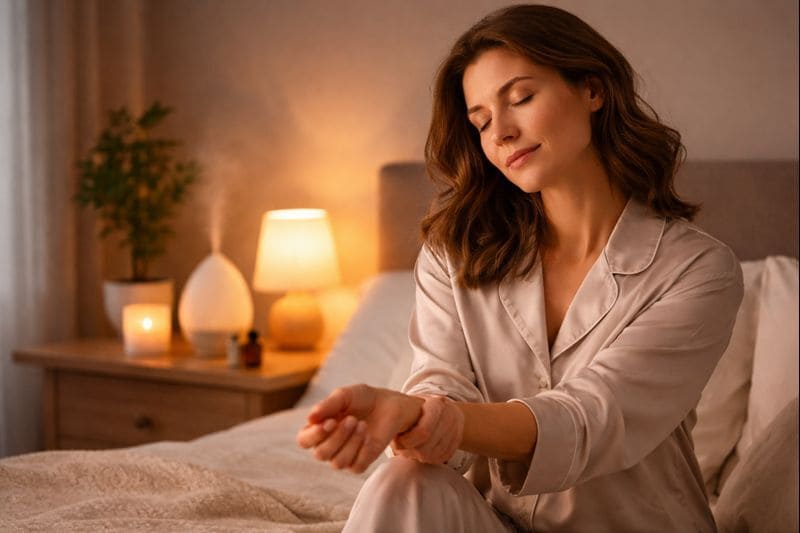
Gua Sha is a powerful Traditional Chinese Medicine technique known for its ability to alleviate tension, improve circulation, and promote healing. When it comes to neck pain, stiffness, or discomfort, Gua Sha offers a natural, non-invasive solution. In this tutorial, we’ll explore six essential steps to perform Gua Sha on your neck effectively. If you’re new to Gua Sha, you might find our basic guide helpful before diving into this tutorial.
1. Prepare Your Neck and Gua Sha Tool
Before starting your Gua Sha session, it’s crucial to prepare both your neck and the tool you’ll be using. This preparation phase ensures that you get the most out of the treatment and minimize any potential discomfort.
- Cleanse Your Neck: Begin by washing your neck with warm water and a gentle cleanser. This step removes any dirt, oil, or sweat that might interfere with the Gua Sha process.
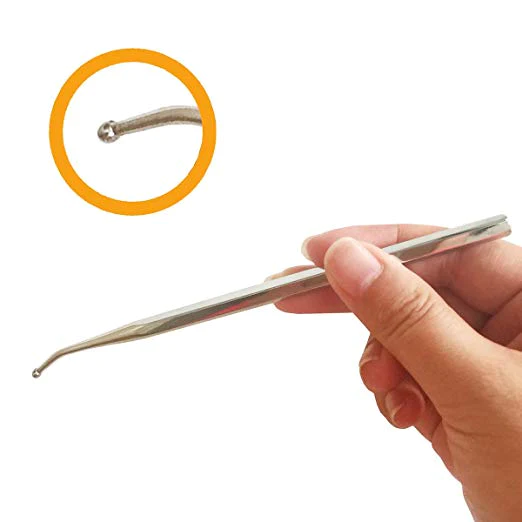
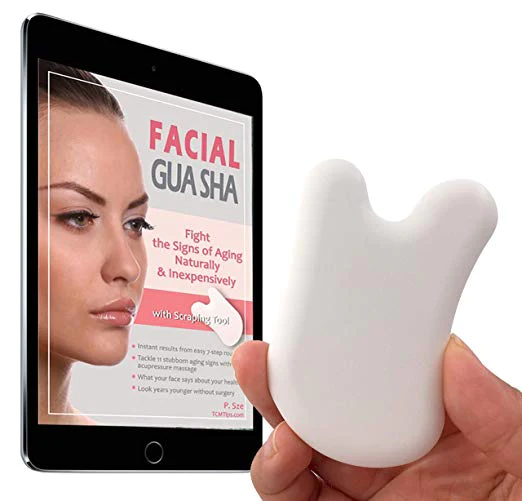
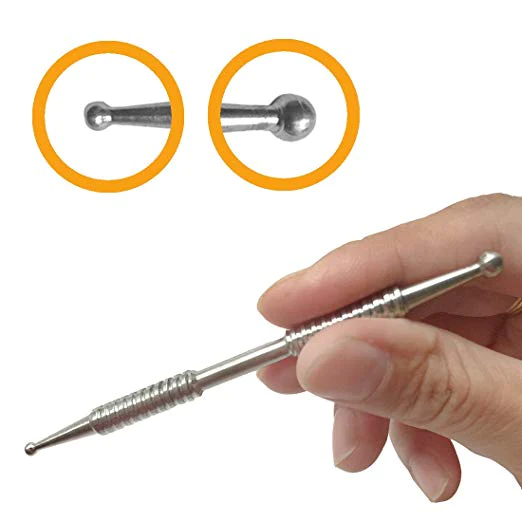
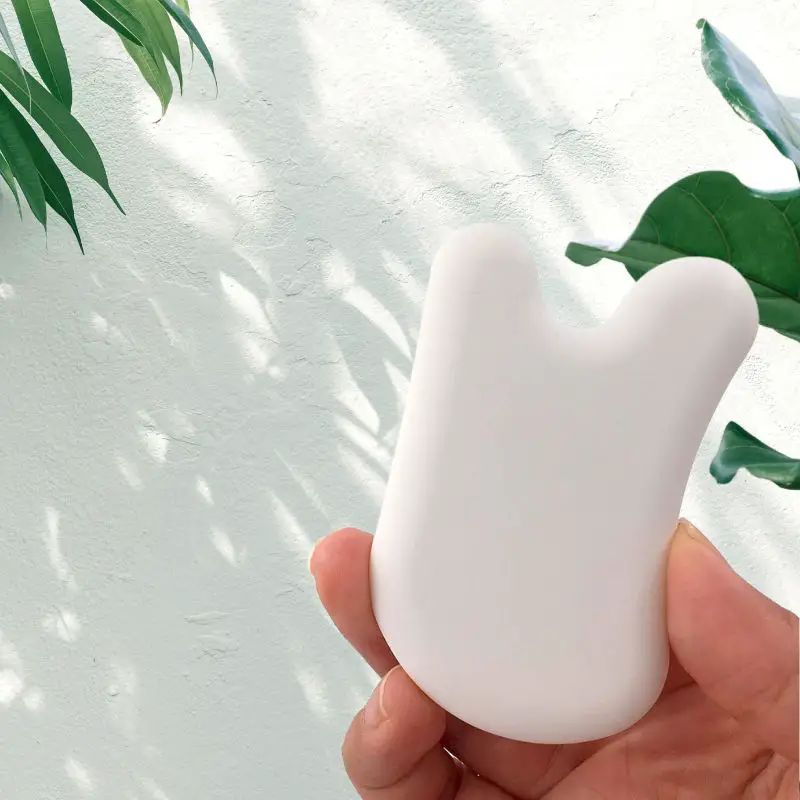
- Choose the Right Tool: Opt for a Gua Sha tool that feels comfortable in your hand and is made from quality materials like jade or rose quartz. The tool should have a smooth edge to glide easily over your skin.
- Apply a Lubricant: To prevent irritation, apply a generous amount of lubricant to your neck. You can use oils like jojoba, coconut, or even a TCM herbal oil. The lubricant helps the tool move smoothly and reduces friction.
2. Understand the Direction and Pressure
The effectiveness of Gua Sha on your neck largely depends on using the right technique. The direction in which you move the tool and the pressure you apply are key factors.
Ms. Mai Sogawa, a senior TCM therapist, advises, “If you feel pain, tingling, or if your skin becomes red, the pressure or friction is too strong. Since skin sensitivity varies, if redness occurs, reduce the pressure or decrease the number of strokes.”
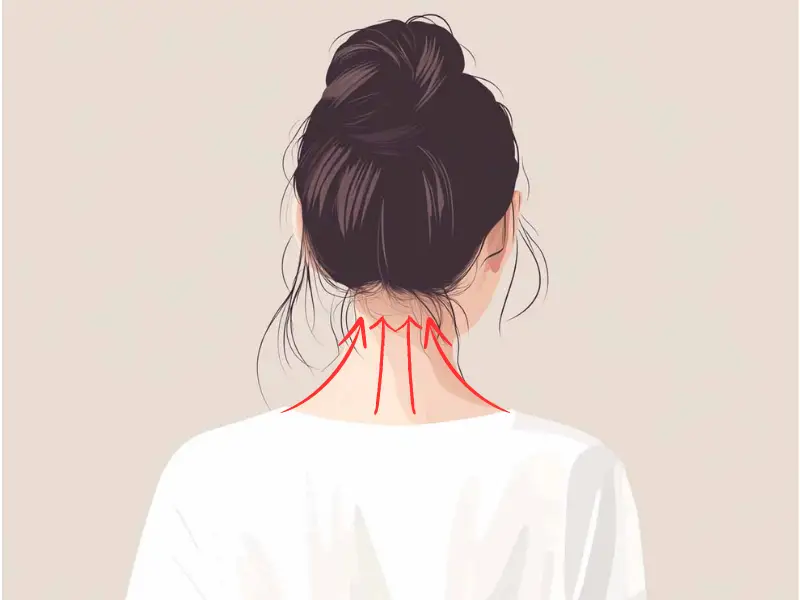
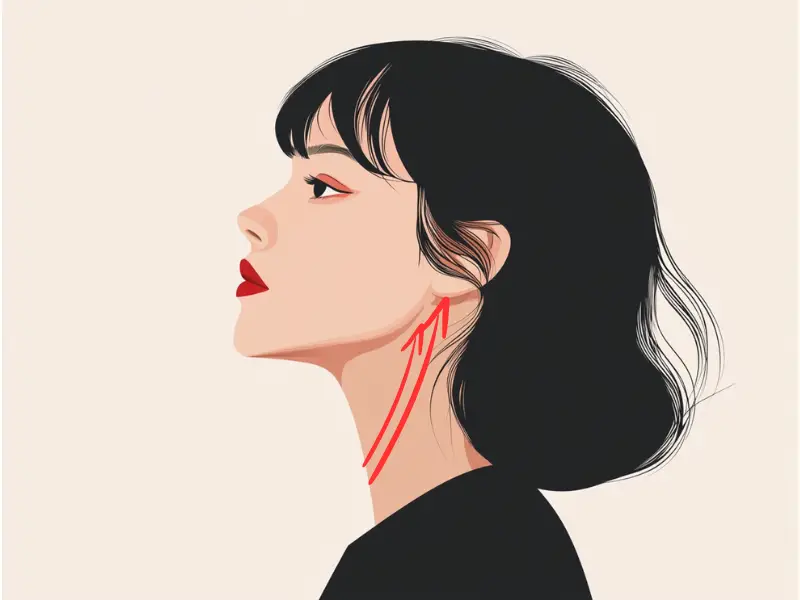
- Direction: Always move the Gua Sha tool in an upward motion on your neck, following the natural lines of your muscles. Start from the base of the neck and move towards the hairline. This movement encourages the flow of Qi and blood upwards, promoting circulation and reducing tension.
- Pressure: Start with light to medium pressure, gradually increasing it as your muscles warm up. The goal is to create a gentle scraping sensation, not pain. If you experience any discomfort, reduce the pressure immediately.
- Stroke Length: When performing Gua Sha on your neck, use long, smooth strokes that cover the full length of the muscle you’re working on. For example, when focusing on the trapezius muscle, start from the shoulder and move all the way up to the base of the skull in one continuous motion. For the smaller sternocleidomastoid muscle, use shorter strokes that follow the length of the muscle from the collarbone to behind the ear.
- Repetition: Repeat each stroke 5-10 times before moving on to the next section of your neck. This repetition helps to thoroughly stimulate the tissues, increase circulation, and promote relaxation.
3. Focus on Key Areas of the Neck
The neck is home to several muscles and points that benefit greatly from Gua Sha. Knowing which areas to focus on can maximize the therapeutic effects.
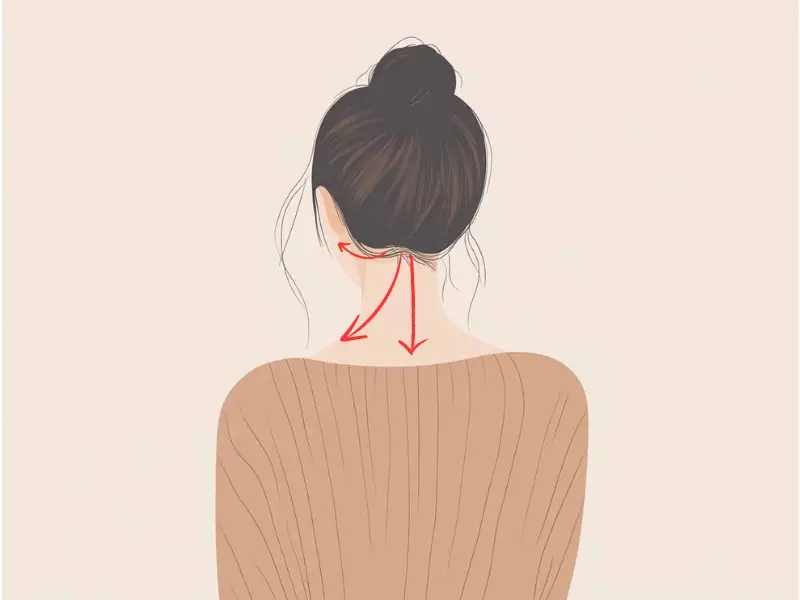
- Trapezius Muscle: This large muscle covers the entire back of your neck and extends from the base of your skull down to your shoulders and upper back. Spend extra time on this area, using upward strokes with the broad, flat edge of the Gua Sha tool to release tension. Start at the shoulder and move upwards towards the base of the skull in one continuous motion. Apply moderate pressure to effectively relieve tightness across the entire back of the neck.
- Sternocleidomastoid Muscle: This long, thick muscle runs along the side of your neck. It’s often tight due to poor posture or stress. Begin near the collarbone at the front of the neck, at the base of the sternocleidomastoid muscle, and move the tool upwards towards the back of the ear. Use the thinner, curved edge of the Gua Sha tool to follow the length of this muscle. Apply gentle pressure, as this area can be sensitive, especially if the muscle is tight.
- Base of the Skull: Position the tool at the base of the skull, right where it meets the neck, and move it downwards along the back of the neck towards the upper back, or outwards towards the sides of the neck and the area just below the ears. Use short, gentle strokes with the tool slightly angled to match the contour of the skull. This technique helps to relieve tension and improve circulation in the upper neck, which can help reduce headaches.
4. Use the Correct Gua Sha Technique
To get the most out of your Gua Sha session, it’s important to use the correct technique. This involves not only how you hold the tool but also how you move it.
- Hold the Tool at a 30-45 Degree Angle: The Gua Sha tool should be angled slightly against your skin. This angle helps to achieve the desired scraping effect without causing irritation.
- Use Long, Even Strokes: Move the tool in long, even strokes, maintaining consistent pressure throughout. Each stroke should be slow and deliberate, allowing the tool to effectively break up stagnation and promote circulation.
- Repeat Each Stroke 5-10 Times: To ensure maximum benefit, repeat each stroke 5-10 times before moving on to the next area. This repetition helps to thoroughly stimulate the tissues and encourage healing.
5. Monitor Your Skin’s Response
During and after your Gua Sha session, it’s important to monitor your skin’s response. This will help you adjust your technique and ensure you’re not overdoing it.
- Look for Redness: A slight redness or pinkness (known as “Sha”) is normal and indicates that circulation is improving. However, if you notice intense redness or bruising, reduce the pressure and frequency of your sessions.
- Check for Discomfort: While Gua Sha should create a mild scraping sensation, it should not be painful. If you experience pain or discomfort, stop the session and reassess your technique.
6. Post-Gua Sha Care
After your Gua Sha session, your neck may feel more relaxed and less tense, but it’s essential to follow up with proper care to maximize the benefits.
- Hydrate: Drink plenty of water to help flush out toxins released during the session.
- Apply a Warm Compress: A warm compress on your neck can help to soothe any residual tension and promote further relaxation.
- Avoid Extreme Temperatures: For the next 24 hours, avoid exposure to extreme temperatures (hot showers, saunas, or cold weather) to prevent skin irritation.
“If you don’t have a traditional Gua Sha tool,” says Ms. Mai Sogawa, “you can use alternatives such as a spoon, a large spatula like a rice paddle, or the edge of a small dish—anything that has a smooth, rounded surface that won’t hurt your skin. You can also perform Gua Sha using your hands by applying oil to reduce friction and using your fingers to massage areas like the jawline and cheekbones.”
By following these six essential steps, you can effectively use Gua Sha to alleviate neck tension, improve circulation, and promote overall well-being. Whether you’re a seasoned practitioner or new to Gua Sha, these techniques can help you get the most out of your practice.
Try our Anti-Aging Gua Sha Tool designed to bring out your skin’s natural glow.
Best Gua Sha Product- Anti-Aging: The tool is designed to target 11 specific aging signs such as wrinkles and sagging skin. By following the 7-step routine, users can improve skin firmness and reduce fine lines naturally.
- Enhances Skincare Routine: It works effectively with serums and lotions, boosting absorption and efficacy of skincare products.
- Visible Skin Improvement: Users can expect a smoother complexion, reduced puffiness, and a more youthful appearance.