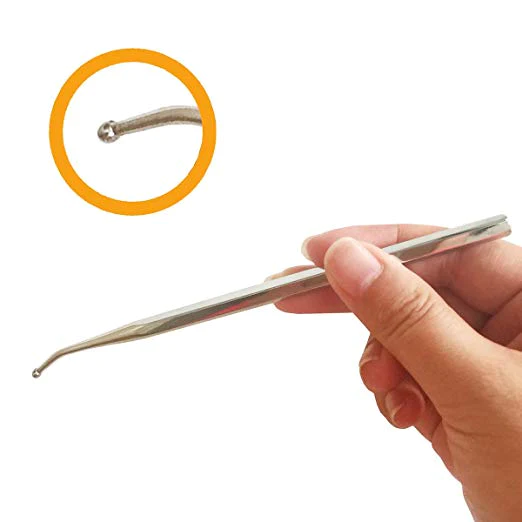
 P. Sze
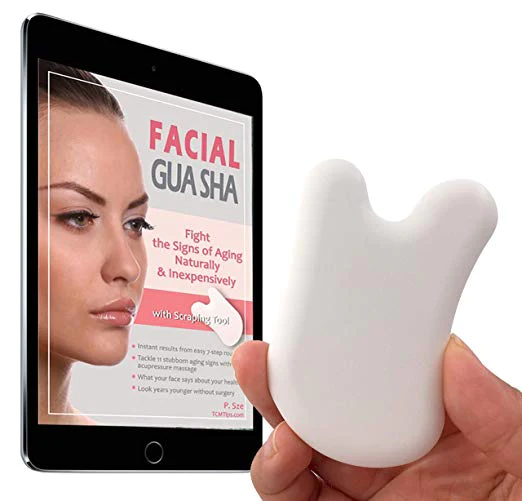
Gua Sha has become a popular method for enhancing facial features, especially when it comes to achieving well-defined cheekbones. This traditional Chinese technique is known for its ability to sculpt and contour the face by improving blood circulation and reducing puffiness. If you’re looking to elevate your cheekbone game, follow these seven steps to master the art of Gua Sha. For those new to Gua Sha, you can check out this Gua Sha basic guide to get started.
1. Choose the Right Gua Sha Tool
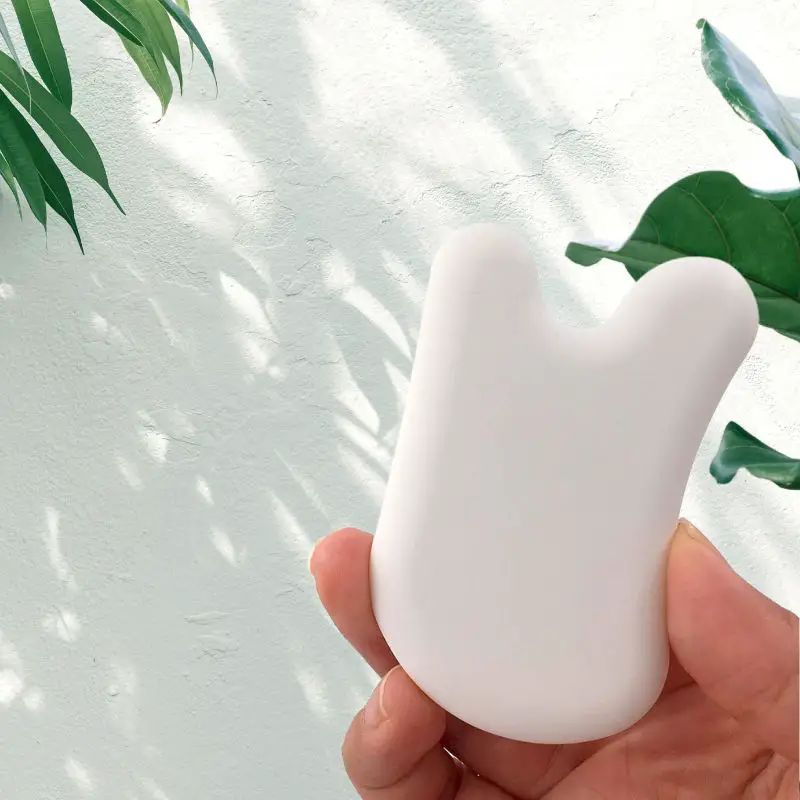
Selecting the appropriate Gua Sha tool is crucial for effective results. For cheekbones, opt for a tool with a contoured edge that fits comfortably along the curves of your face. Jade or rose quartz Gua Sha tools are popular choices due to their cooling properties, which help reduce inflammation and enhance the overall experience. Ensure your tool is smooth, with no sharp edges, to avoid damaging your skin.
2. Prep Your Skin with Facial Oil
Before starting your Gua Sha routine, it’s essential to prepare your skin properly. Applying a facial oil or serum will create the necessary slip, allowing the tool to glide smoothly over your skin. This step not only prevents tugging but also ensures that the Gua Sha technique is both effective and gentle.
“For sensitive or acne-prone skin, I recommend using squalane or jojoba oil. Those with dry skin should opt for argan or jojoba oil, while grapeseed or jojoba oil works best for oily skin,” advises Ms. Mai Sogawa, a senior TCM therapist.
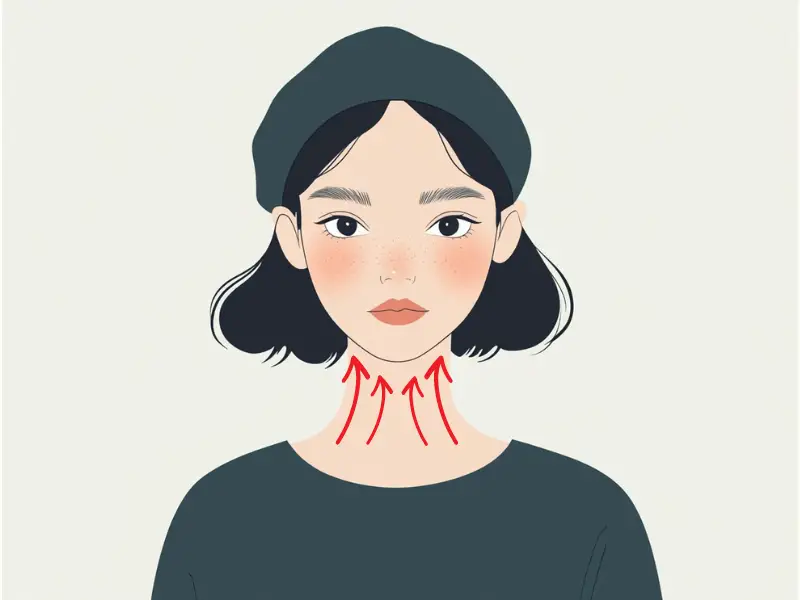
3. Start with the Neck
While the focus is on the cheekbones, it’s important to begin your Gua Sha routine by working on the neck. This helps to drain lymphatic fluids and prepares the skin for the contouring process. Using the long edge of your Gua Sha tool, start at the base of your neck and gently glide upward toward the jawline. Repeat this motion 5-10 times on each side to stimulate circulation and promote lymphatic drainage.
4. Define the Jawline First
Before moving to the cheekbones, it’s beneficial to define your jawline. Place the curved edge of the Gua Sha tool at the center of your chin, and slowly move it along your jawline toward the ears. Apply gentle pressure, making sure to follow the natural contour of your jaw. Repeat this motion on both sides 5-10 times. This step not only sculpts the jawline but also sets the foundation for enhancing the cheekbones.
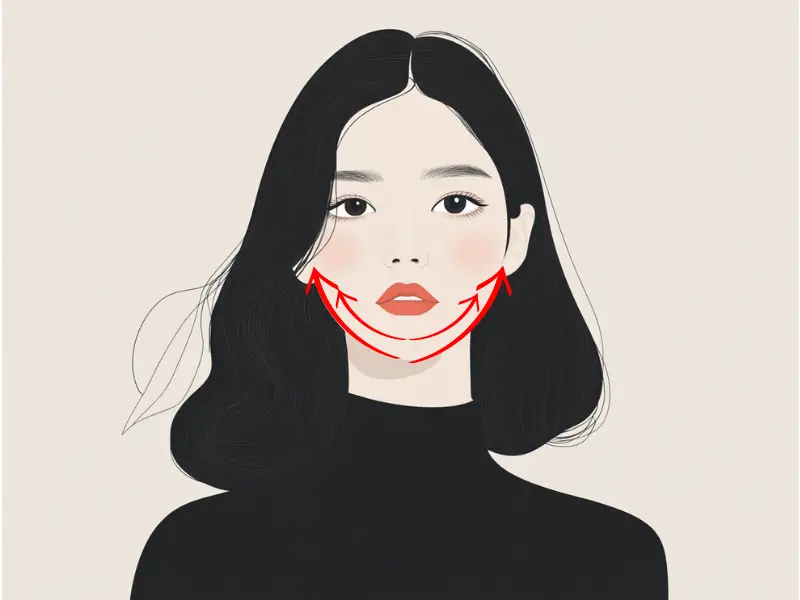
5. Sculpt the Cheekbones
Now, it’s time to focus on the cheekbones. Position the contoured edge of the Gua Sha tool just below the cheekbone, near the side of your nose. Slowly glide the tool upward and outward, following the natural curve of your cheekbone, and ending just below your ear. Use gentle to medium pressure, depending on your comfort level. Repeat this motion 5-10 times on each side to lift and define your cheekbones effectively.

6. Focus on the Under-Eye Area
The area under your eyes can often hold tension and puffiness, which can detract from the appearance of your cheekbones. To address this, use the smaller, more pointed edge of your Gua Sha tool. Starting at the inner corner of your eye, gently sweep the tool outward along the under-eye area toward the temples. Be very gentle with the pressure in this delicate area, repeating the motion 3-5 times per side. This will help reduce puffiness and create a smoother transition from your eyes to your cheekbones.

7. Repeat Regularly for Best Results
Consistency is key when it comes to achieving perfect cheekbones with Gua Sha. Incorporate this routine into your skincare regimen at least 3-4 times a week for noticeable results. Over time, regular use of Gua Sha can help to lift and sculpt your cheekbones, giving your face a more defined and youthful appearance.
“After your Gua Sha session, continue with your usual skincare routine, focusing on proper hydration. Also, don’t forget to drink water to help flush out the waste removed during the massage,” recommends Ms. Mai Sogawa.
By following these seven steps, you can effectively use Gua Sha to enhance your cheekbones and achieve a naturally sculpted look. Remember, the key to success with Gua Sha lies in patience, gentle pressure, and regular practice.
Try our Anti-Aging Gua Sha Tool designed to bring out your skin’s natural glow.
Best Gua Sha Product- Anti-Aging: The tool is designed to target 11 specific aging signs such as wrinkles and sagging skin. By following the 7-step routine, users can improve skin firmness and reduce fine lines naturally.
- Enhances Skincare Routine: It works effectively with serums and lotions, boosting absorption and efficacy of skincare products.
- Visible Skin Improvement: Users can expect a smoother complexion, reduced puffiness, and a more youthful appearance.