 P. Sze
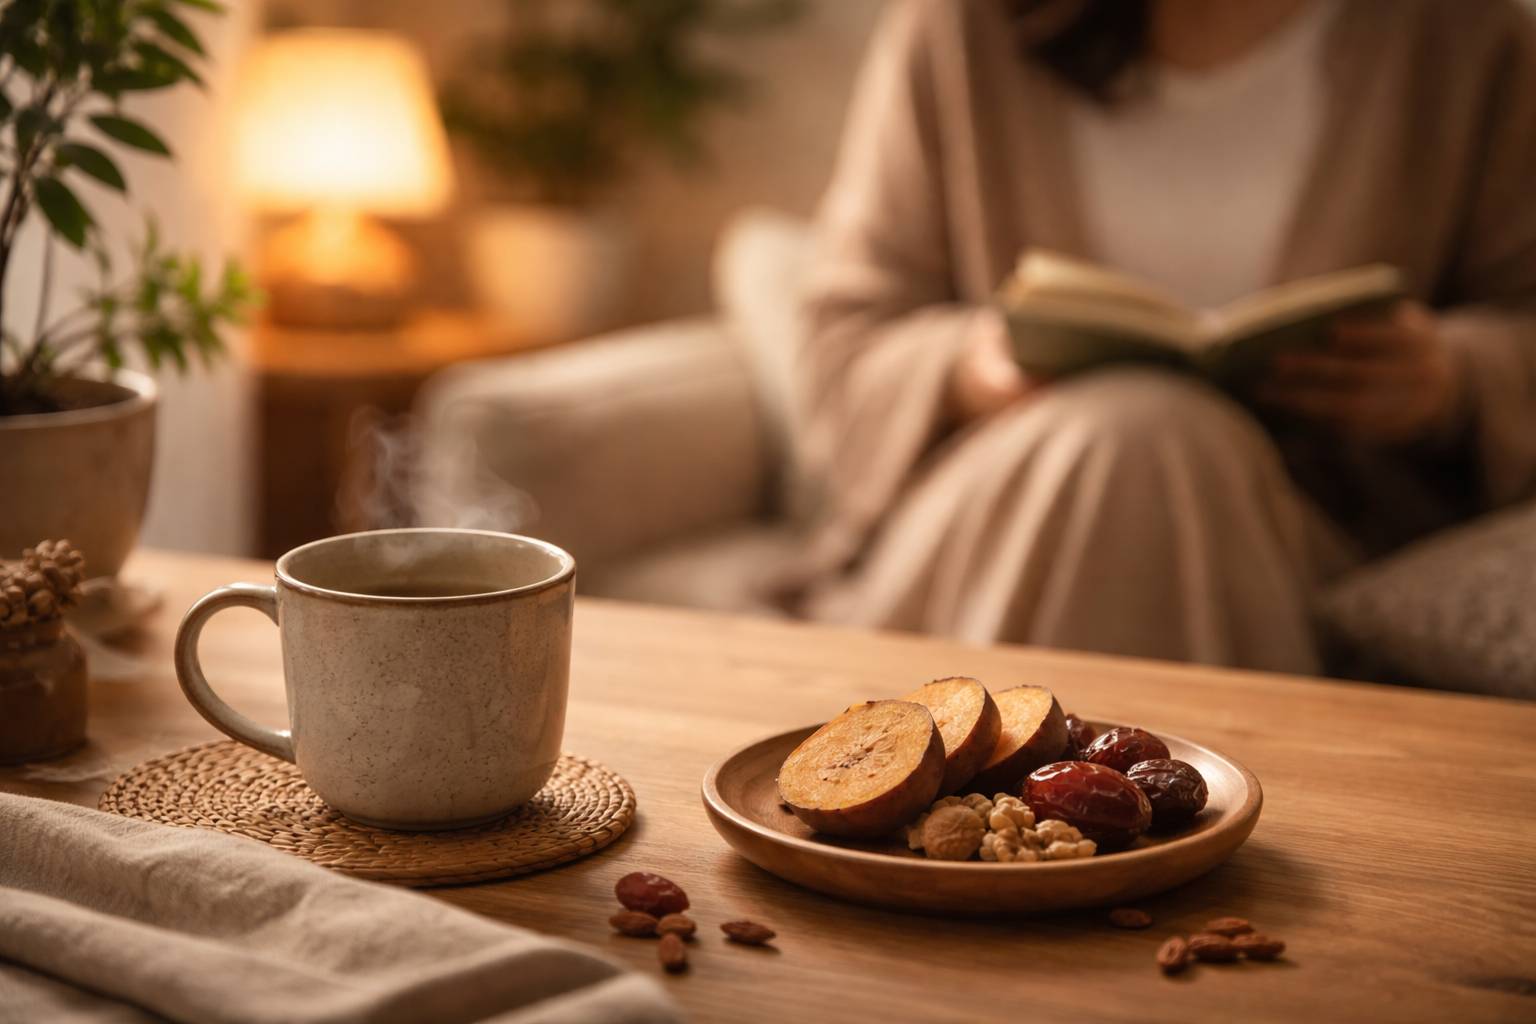
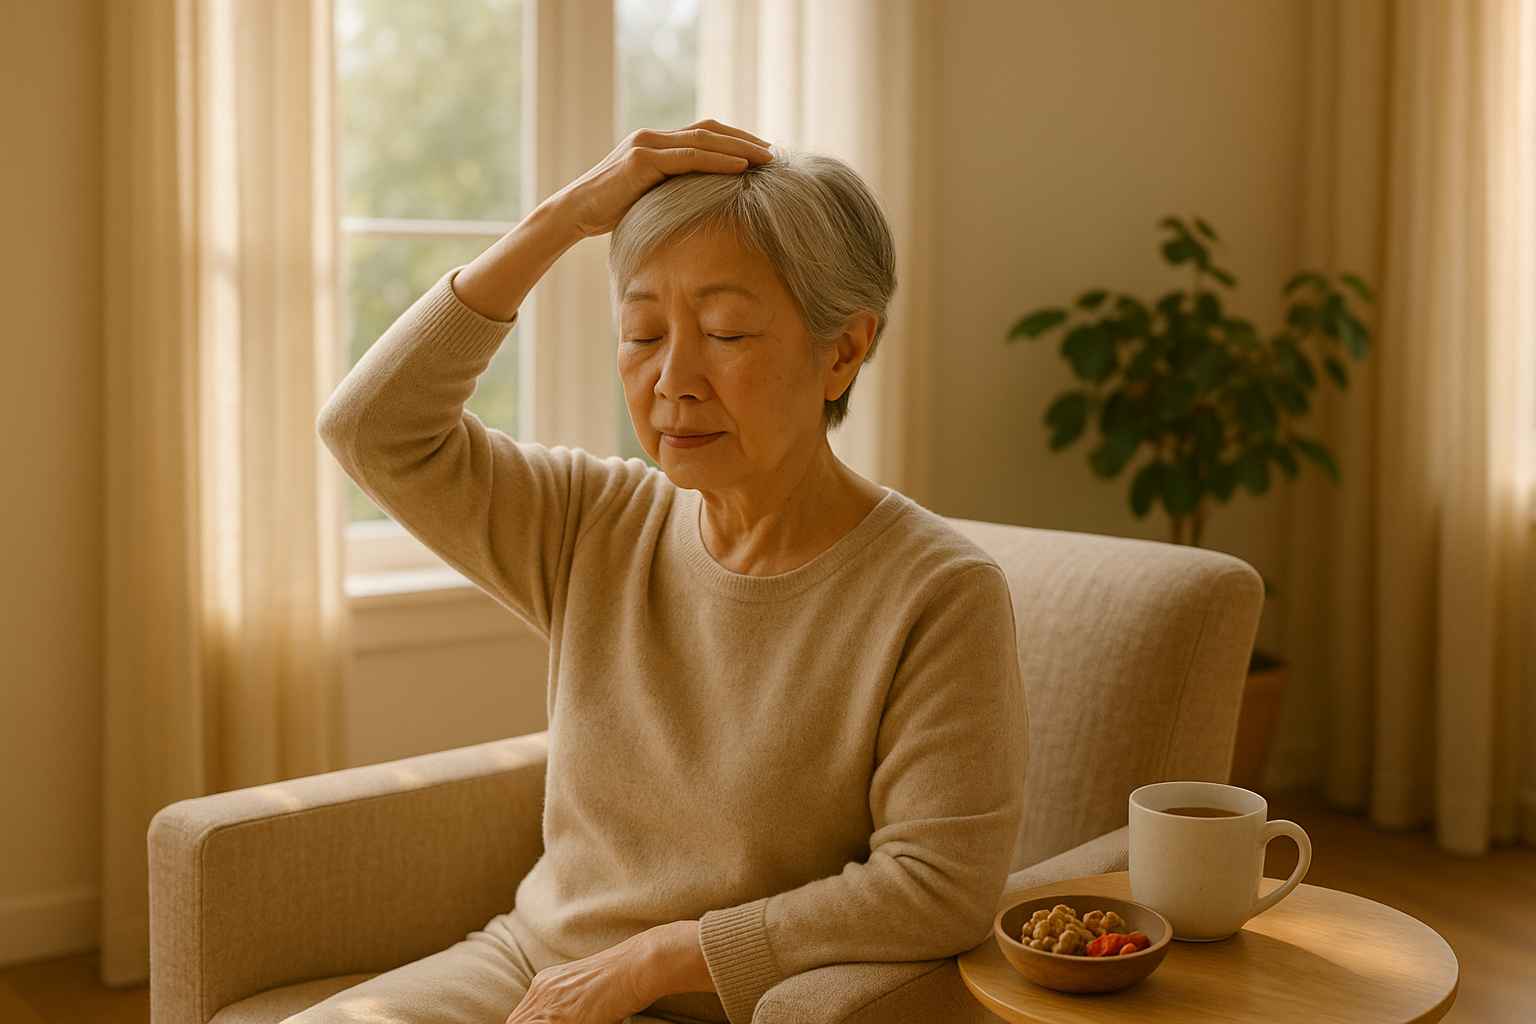
If you’re new to gua sha, it’s a powerful technique that promotes lymphatic drainage, relieves tension, and enhances skin health. With just a few tools and some practice, you can incorporate gua sha into your routine and start seeing the benefits quickly. This beginner gua sha routine will guide you through the essential steps. If you’re unfamiliar with gua sha basics, check out our complete guide here.
How to Prepare for Your Gua Sha Routine
Before you begin, it’s important to prep your skin and choose the right tools for your gua sha session:
- Clean your face: Start with a clean face by using a gentle cleanser to remove dirt and oil.
- Apply a facial oil or serum: To avoid pulling on your skin, apply a facial oil or serum. This will help the gua sha tool glide smoothly across the surface.
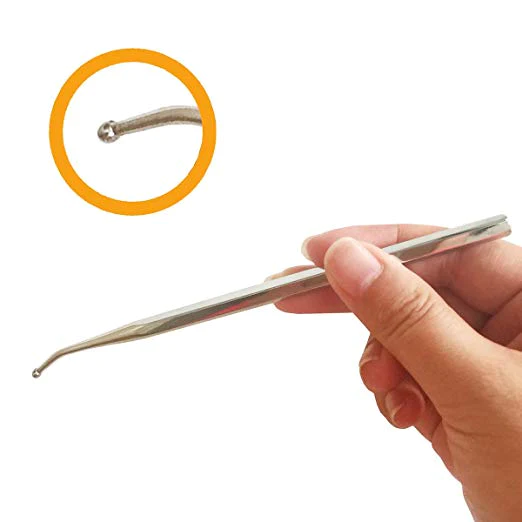
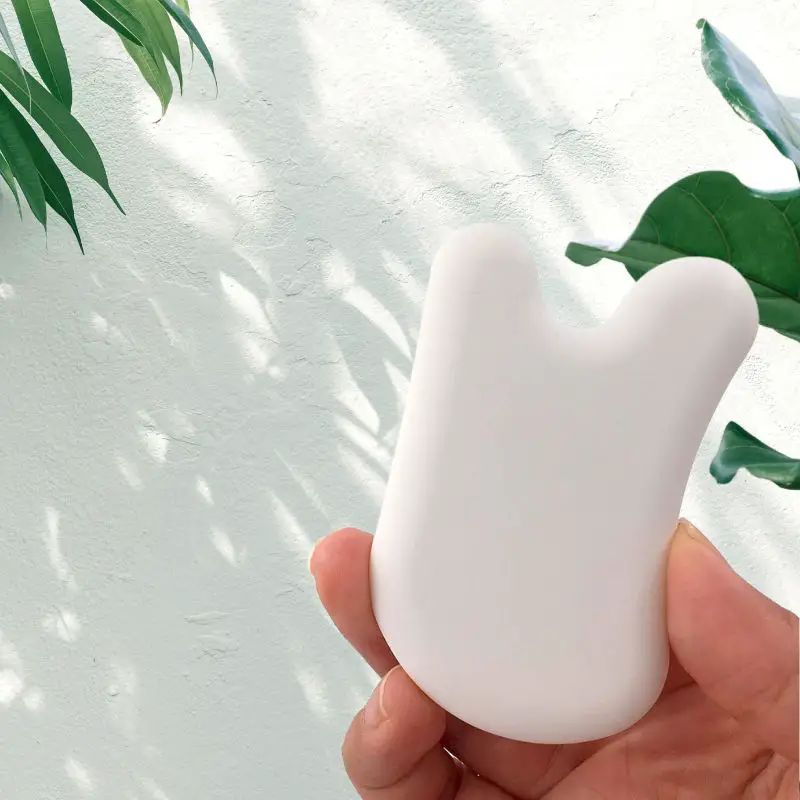
- Choose the right tool: A flat gua sha tool made of jade, rose quartz, or other smooth stones is ideal for beginners.
“For beginners, ceramic, natural stone, or plastic materials are recommended. As for the shape, heart-shaped or wing-shaped designs with curves that are easy to hold are ideal.”
— Ms. Mai Sogawa, Senior TCM Therapist
Step 1: Start with the Neck
Begin your gua sha routine by working on the neck. This helps open up the lymphatic pathways and prepares the face for better drainage.
- Start point: Just above the collarbone, at the base of your neck.
- End point: Stroke upward towards the jawline.
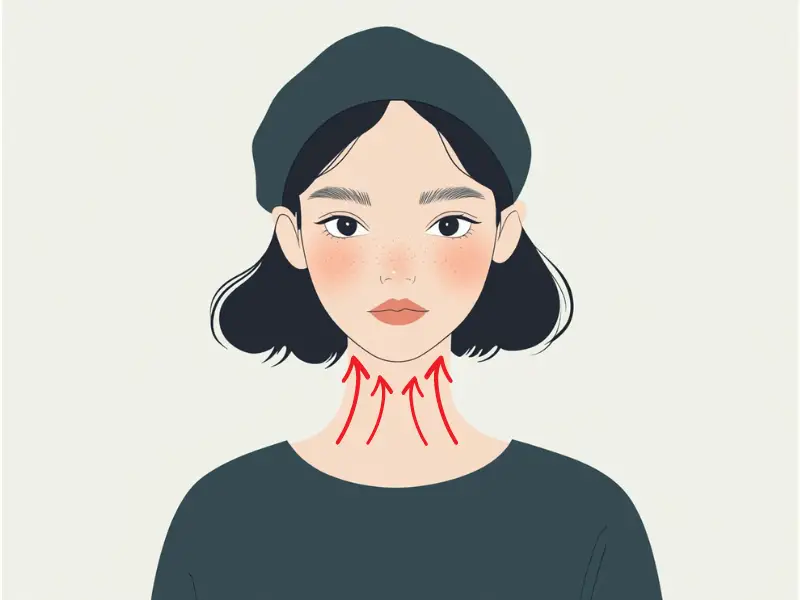
Hold the gua sha tool at a 15-degree angle and use light to medium pressure. Repeat each stroke 5-7 times on both sides of your neck. The upward strokes help release tension and improve circulation in the neck area.
Step 2: Focus on the Jawline
The jawline is a key area for relieving tension and sculpting the face.
- Start point: Place the gua sha tool at the center of your chin.
- End point: Sweep outward toward your earlobe, following the jawline.
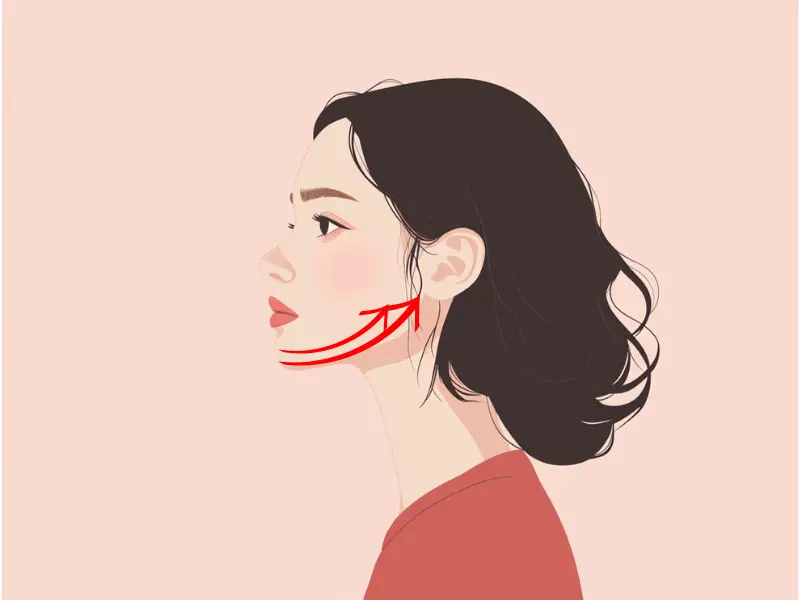
Use medium pressure and repeat the movement 5-7 times on each side. Keep the tool at a slight angle to ensure a smooth glide and to avoid pulling at the skin.
Step 3: Glide Along the Cheekbones
This step helps lift and define the cheeks while boosting circulation.
- Start point: Place the gua sha tool near the side of your nose, just under the cheekbone.
- End point: Glide outward, following the cheekbone, toward the temple.

Use light to medium pressure and repeat 5-7 times on each side. The motion should be gentle, following the natural contour of the cheekbone, and ending near the temple.
Step 4: Soothe the Under-Eye Area
The under-eye area is delicate and prone to puffiness, but gua sha can help reduce swelling and brighten this area.
- Start point: Place the tool at the inner corner of your eye, near your nose.
- End point: Gently glide the tool outward towards the temple.
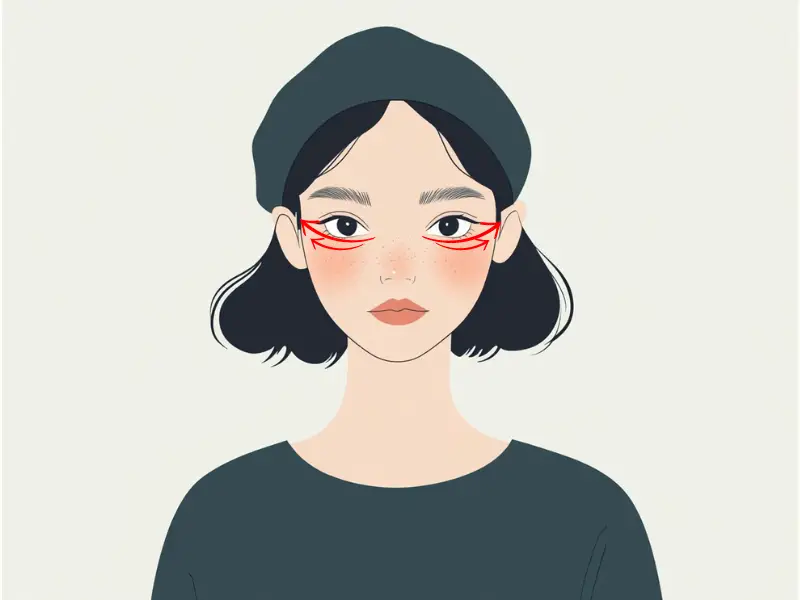
Use only very light pressure in this sensitive area. Repeat 3-5 times on each side, being careful not to drag or pull the skin. This step can reduce puffiness and help smooth the under-eye area.
Step 5: Lift the Brow Area
Gua sha around the brow area can help release stress and tension built up from screen time or stress.
- Start point: Place the gua sha tool at the inner edge of your eyebrow.
- End point: Sweep it outward along the brow bone toward the temple.
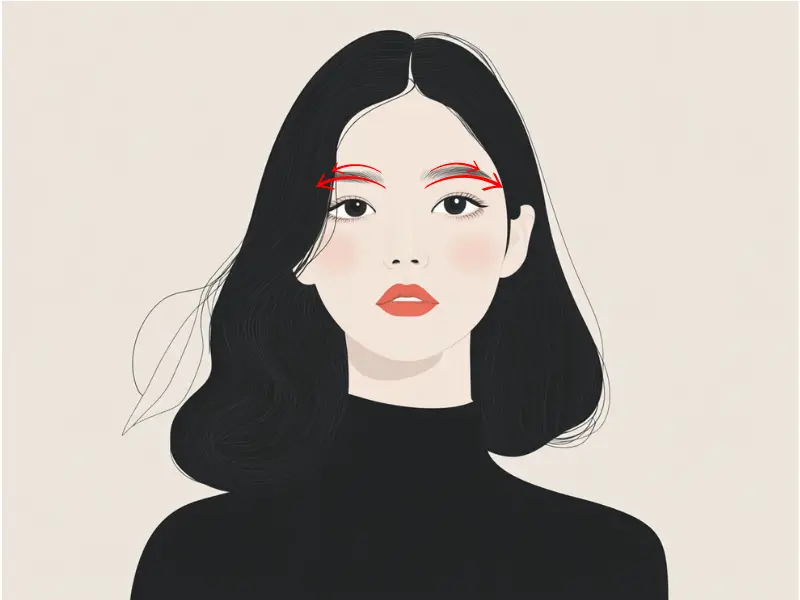
Use light to medium pressure and repeat the stroke 5-7 times on each side. This step helps lift the brows and opens up the eye area for a more awake look.
Step 6: Smooth the Forehead
Finally, focus on the forehead, where tension often accumulates.
- Start point: Place the gua sha tool at the center of your forehead, just above your eyebrows.
- End point: Glide the tool upward towards the hairline.
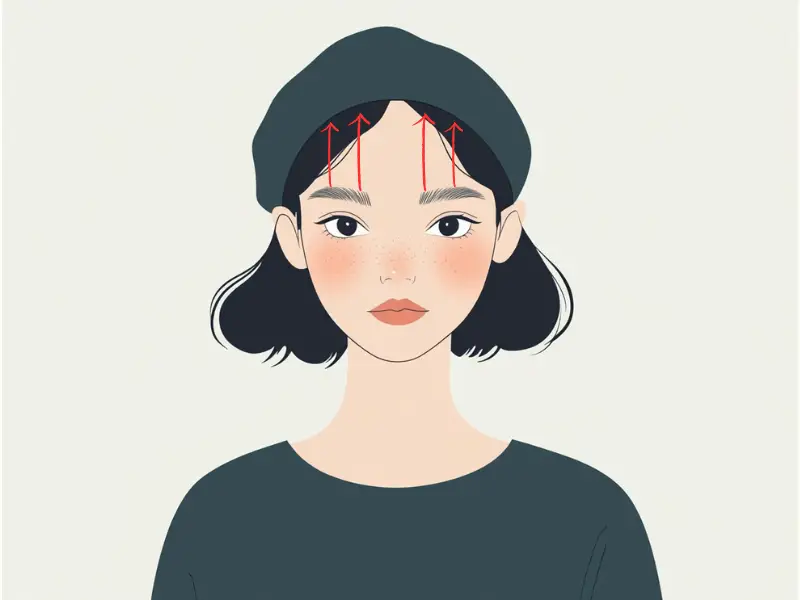
Use firm but gentle pressure and repeat 5-7 times across different sections of the forehead. The strokes should be vertical, lifting from the brows up to the hairline, which helps to smooth out fine lines and relieve forehead tension.
Best Practices for Gua Sha Beginners
To get the most out of your gua sha routine, keep these tips in mind:
- Consistency is key: Aim to practice gua sha 2-3 times a week to see the best results. With regular use, you’ll notice improved skin texture, tone, and overall radiance.
- Hydrate after your session: After your routine, apply a hydrating serum or moisturizer to lock in moisture and nourish your skin.
- Adjust your pressure: Listen to your skin and adjust the pressure accordingly. Gua sha should never be painful; if you notice any discomfort, lighten your touch.
- Slow, deliberate strokes: Gua sha works best when performed slowly and deliberately. Take your time with each stroke, focusing on deep relaxation and mindful movements.
What to Avoid in Your Beginner Gua Sha Routine
While gua sha is safe for most people, beginners should be mindful of these common mistakes:
- Don’t press too hard: It’s easy to overdo it, especially if you’re new to gua sha. Heavy pressure can cause bruising and irritation. Gua sha is meant to be gentle, so use a light hand.
- Avoid broken or irritated skin: Never use gua sha on areas with active acne, cuts, or inflammation. This can exacerbate the issue.
- Don’t rush: Gua sha is most effective when done slowly and consistently. Rushing through your strokes can reduce the benefits, so take your time to enjoy the process.
“The jade roller is gentler on the skin, making it a good option for beginners. However, if you want to define facial contours more clearly or relax deeper muscles and experience more noticeable effects, gua sha is recommended.”
— Ms. Mai Sogawa, Senior TCM Therapist
By following this beginner-friendly gua sha routine and practicing it regularly, you’ll soon start seeing visible improvements in your skin’s radiance, texture, and firmness. Whether you’re seeking relaxation or enhanced skin health, gua sha offers a simple, holistic method that you can easily practice at home.
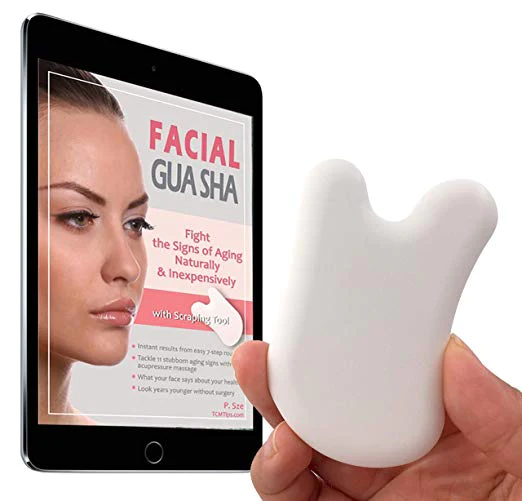
Try our Anti-Aging Gua Sha Tool designed to bring out your skin’s natural glow.
Best Gua Sha Product- Anti-Aging: The tool is designed to target 11 specific aging signs such as wrinkles and sagging skin. By following the 7-step routine, users can improve skin firmness and reduce fine lines naturally.
- Enhances Skincare Routine: It works effectively with serums and lotions, boosting absorption and efficacy of skincare products.
- Visible Skin Improvement: Users can expect a smoother complexion, reduced puffiness, and a more youthful appearance.